Unity Version Control plugin for Intellij IDEs
Install the plugin to use version control in IntelliJ IDEs.
Read time 1 minuteLast updated 9 months ago
Requirements
- Unity Version Control installation version 11.0.16.X or above.
- JetBrains IDE version 2022.3 or above.
Install the plugin
The installation process below is a summary of the required steps to install a custom plugin in your IDE manually.- Open your preferred JetBrains IDE.
- Go to the Plugins panel and uninstall any version of the plugin Plastic SCM Integration. Restart if asked.
- Select the gear icon and select Install Plugin from Disk. Then select the plugin zip file from the Unity Version Control installation folder .
${INSTALL_DIR}/client/plugins/intellij/plastic4intellij-X.Y.Z.zip - Open a .NET project under Unity Version Control.
- Make sure the PlasticSCM plugin is enabled under Settings > Version Control > PlasticSCM.
Use the plugin
To view the version control features, right-click the project hierarchy and select Plastic SCM:- Checkin File
- Update File
- Compare with the Same Repository Version
- Compare with
- Edit
- Add
- Rollback
- Show History
- Annotate
- Work Offline
Version Control tab
There is a dedicated Version Control tab that covers version control related details, such as local changes pending to check in, history and revisions, and un-versioned and ignored files.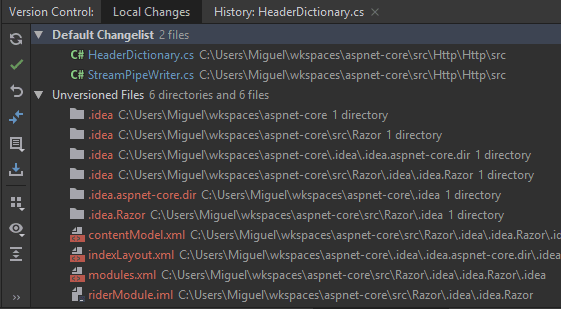
The Version Control tab with the Default Changelist and a list of unversioned files.