A/B testing
Implement A/B testing to segment players and measure gameplay metrics for data-driven design.
Read time 8 minutesLast updated 5 months ago
A/B testing is a powerful tool to test different variables on various user segments in parallel to see which variable has the most impact on your game. A/B tests can be very useful for fine-tuning retention, monetization, or balancing mechanics. This sample simulates an A/B test to evaluate how much experience it should take to gain a level.
Prerequisites
To use this sample use case, you must download and install the UGS Use Cases project in your Unity project.Overview
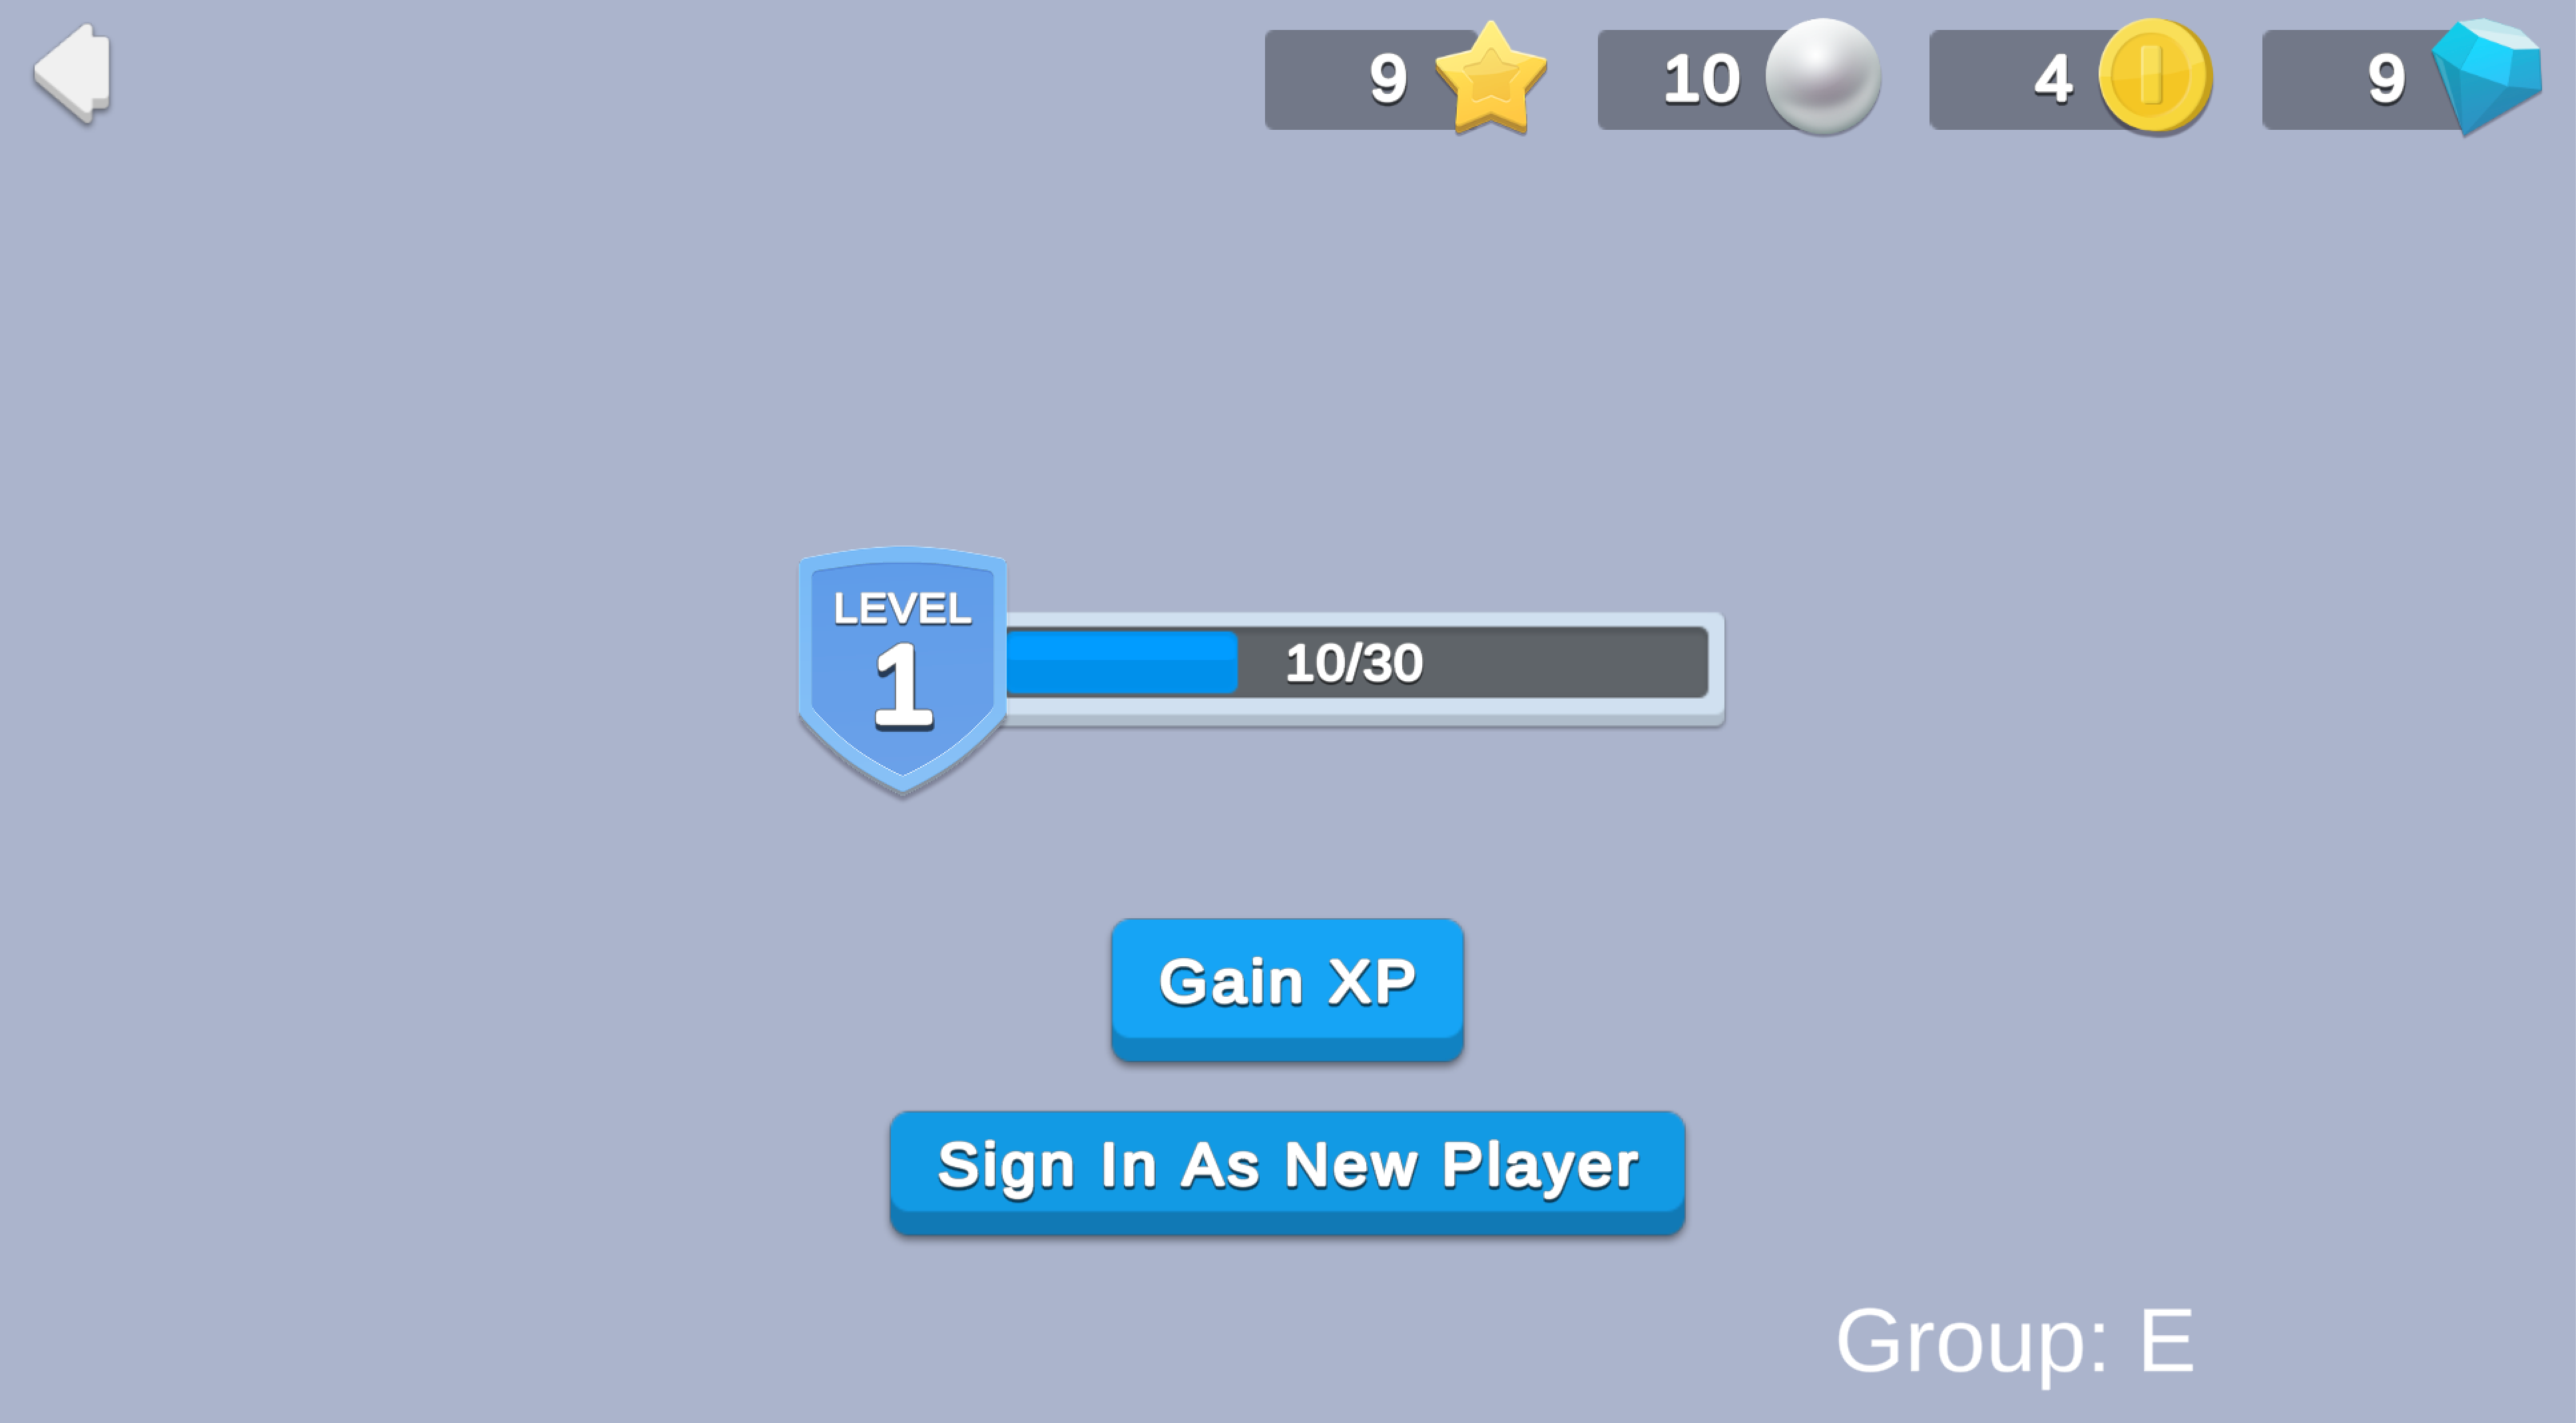
To see this use case in action, open the samples menu and navigate to AB Test Level Difficulty. To open this scene directly and interact with the use case:- In the Unity Editor Project window, select Assets > Use Case Samples > AB Test Level Difficulty, then double-click to open the sample scene.
ABTestLevelDifficultySample.unity - Press Play to enter Play mode.
Initialization
TheABTestLevelDifficultySceneManager.csStart- Initializes Unity Services.
- Sends a custom event to the Analytics service. This, along with the
SceneOpenedcustom event (sent when you click the scene's back button), tracks the player's session length as an example of how you can implement analytics to evaluate the results of your test.SceneSessionLength - Signs in the player anonymously using the Authentication service. If you’ve previously initialized any of the other sample scenes, Authentication will use your cached Player ID instead of creating a new one. If not, your initial level (1) and XP (0) are saved in Cloud Save instead of loading existing data.
- Retrieves and updates the player's currency balances from the Economy service.
- Queries the Remote Config service to fetch the appropriate test group name and corresponding XP threshold for leveling up.
Functionality
Gain XP
When you click the Gain XP button, the simulated player gains 10 XP. When the XP bar is full (according to the test group threshold), the simulated player levels up and receives currency. The following occurs:-
The button’s method sends an
OnClickcustom event to the Analytics service and makes a call to the Cloud CodeActionButtonPressedscript.GainXPAndLevelIfReady.js -
This server-authoritative call fetches the player's information from the Cloud Save and Remote Config services, increases the XP by the amount specified by Remote Config (in this case, 10), then tests whether the new player XP total equals or exceeds the level-up threshold.
- If the player did not level up, their new XP is saved in Cloud Save and returned to the client, which updates the values and shows text that indicates how much XP increased.
- If the player did level up, it calls the Economy service to distribute the level-up rewards (in this case, 100 Coins), and calls Cloud Save to save the increased player level and new player XP before it returns that information to the client code.
- The client code opens a level-up dialog and updates the relevant data in the scene UI. Note that this step provides an opportunity to show players different art based on their segmentation, and a convenient way to retrieve additional data for a specific currency at runtime.
Sign In As New Player
Click Sign In As New Player to simulate a new player with a new randomly assigned test group that starts with 0 XP. The following occurs:- The button’s method deletes the current anonymous player ID, resets all cached values to their empty or default states, and then initiates a new sign-in with the Authentication service that follows the same flow as when the scene first loads.
OnClick - As with the Gain XP button, it sends an custom event to the Analytics service.
ActionButtonPressed - Each time you click the Sign In As New Player button, the Authentication service creates a new anonymous player ID, to which the Remote Config service assigns a new A/B test group.
Back button
If you press the back button (the arrow in the top-left corner of the scene) to return to the "Start Here" or samples menu scene, it triggers aSceneSessionLengthSetup
Requirements
To replicate this use case, you'll need the following Unity packages in your project:Package | Role |
|---|---|
| Analytics | Sends events that track the player's in-game interactions, retention metrics, and other information that you can use to analyze and improve the game experience. |
| Authentication | Automatically signs in the player as an anonymous user to keep track of their data server-side. |
| Cloud Code | Stores validation logic for increasing XP and leveling up the player server-side. |
| Cloud Save | Provides a server-authoritative way to save player data and the game state. In this example, the service stores the player's level and XP. |
| Deployment | Provides a cohesive interface to deploy assets for Cloud Services. |
| Economy | Retrieves the starting and updated currency balances at runtime. |
| Game Overrides | Assigns players to different groups based on the requested distribution values. Players receive a different configuration of XP needed to level up depending on which group they're in. |
| Remote Config | Provides key-value pairs that you can map and change server-side, either manually or based on specific Game Overrides. Also stores data associated with currency icon Addressable addresses. |
To use these services in your game, activate each service for your Organization and project in the Unity Dashboard.
Unity Cloud services configuration
To replicate this sample scene's setup in your own Unity project, configure the following items:- Cloud Code scripts
- Economy items
- Remote Config values
- Remote Config Game Overrides
- Custom events and parameters for the Analytics service
Using the Deployment package
To deploy configurations using the Deployment package:- Open the Deployment window.
- Check in and
Common.AB Test Level Difficulty - Click .
Deploy Selection
- Cloud Code scripts
- Economy items
- Remote Config values
- Remote Config Game Overrides
- Custom events and parameters for the Analytics service
Using the Unity Dashboard
You can use the Unity Dashboard to manually configure your services by project and environment. Refer to the following sections to configure this sample.Analytics
Configure and enable the following custom Analytics events:
Event name | Description | Custom parameters |
|---|---|---|
| Sent each time you load the scene. | - |
| Sent each time you click a button in the scene. | - - - - - - |
| Sent to indicate the time between loading the scene and clicking the back button (effectively how much time the player spent in the scene). In this example, you could use this data to understand how much real-world time it takes each test group to level up. | - - - - - - |
Parameter name | Type | Description |
|---|---|---|
| string | The A/B group and A/B Test ID the player is assigned to. The string format is |
| string | The name of the button that the player clicked. |
| string | Groups the name of the button clicked with the player's A/B group. The string format is |
| string | Groups the name of the button clicked with the current scene's name. The string format is |
| string | Groups the name of the button clicked with the scene's name and the player's A/B group. The string format is |
| string | The name of the scene where the event is triggered. |
| string | The amount of time spent in the scene when the event is triggered. |
| string | Groups the time spent in the scene when the event is triggered with the player's A/B group. The string format is |
| string | Groups the time spent in the scene when the event is triggered with the scene's name. The string format is |
| string | Groups the time spent in the scene when the event is triggered with the scene's name and the player's A/B group. The string format is |
Cloud Code
Publish the following script in the Unity Dashboard:Script | Parameters | Description | Location in project |
|---|---|---|---|
| None | Increments the player's XP and checks to see if the cumulative XP exceeds the level-up threshold defined by their A/B test group. | |
Economy
Configure the following resource in the Unity Dashboard:Resource type | Resource name | ID | Description |
|---|---|---|---|
| Currency | Coin | | The currency that is distributed as a reward for the player leveling up. |
Remote Config
Set up the following config values in the Unity Dashboard:Key | Type | Description | Value |
|---|---|---|---|
| string | The identifier for which test user group the player is in. | |
| string | The identifier for which AB Test is actively being run for this user. | |
| int | The amount of XP needed in order for the player to level up. | |
| int | The amount the player's XP will increase by each time they gain XP. | |
| JSON | A cross reference from |
|
Game Overrides
Configure the following Overrides in the Unity Dashboard:| Details | Name the Override |
| Targeting | Select Audiences with 100% of audiences targeted. |
| Content | Select Choose content type > Config Overrides.
Enter override values for the following keys for variant 1:
|
| Scheduling | Set the following start and end dates:
|
| Status | After finishing creating the Game Override, click Enable. |