About Decimation
How to reduce mesh density using decimation in Asset Transformer Studio
Read time 3 minutesLast updated 10 hours ago
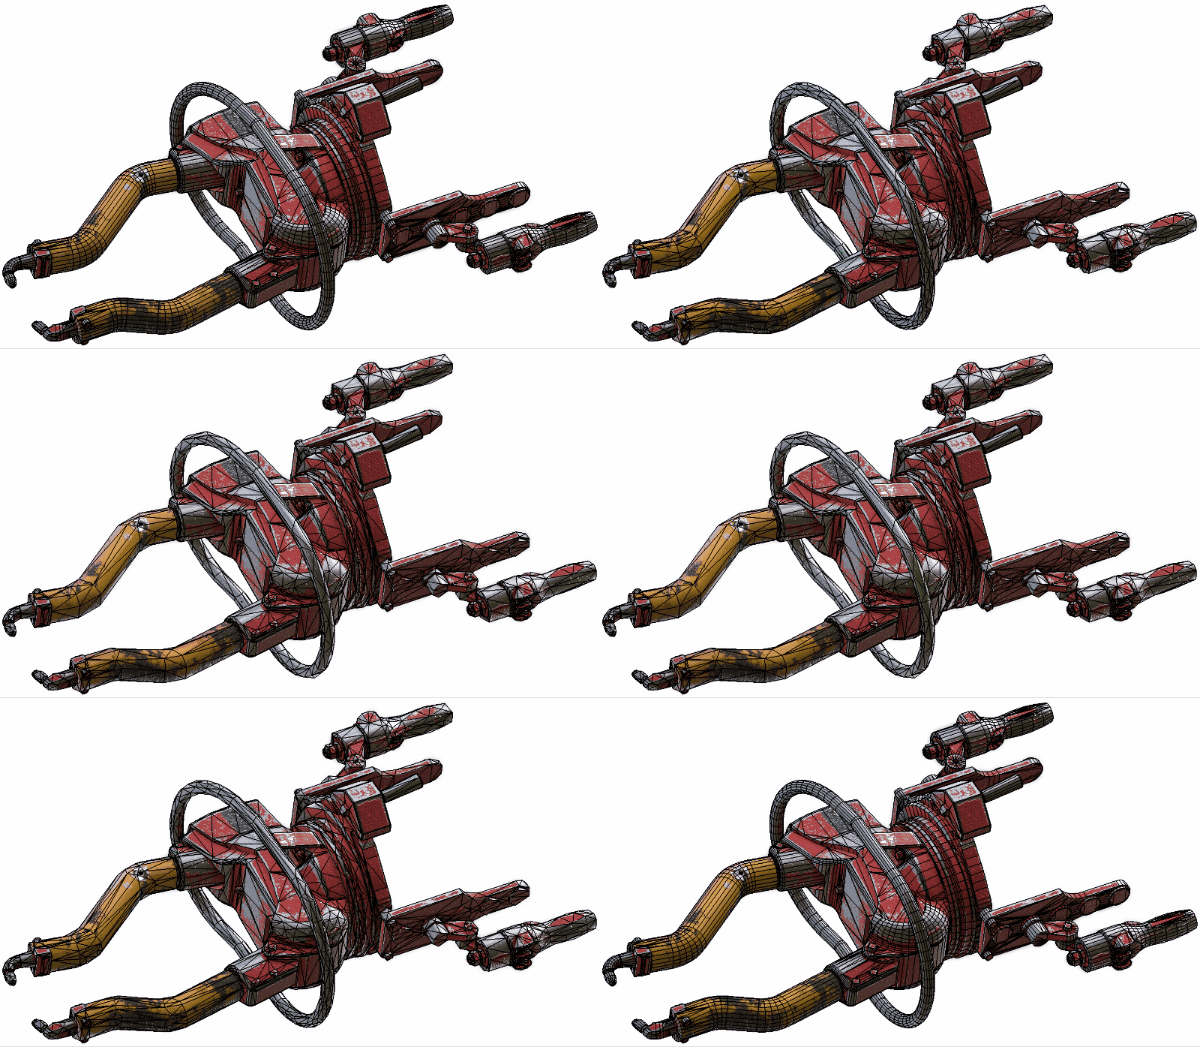
A huge part of data preparation consists in optimizing the mesh density, by finding the perfect balance between visual quality and polygon count.
The most common way to reduce the polycount is by decimating meshes, either aiming at an acceptable mesh quality, or aiming at a precise polycount.
Asset Transformer Studio provides decimation algorithms for both strategies: Decimate To Quality and Decimate To Target.
Decimate To Quality or Decimate To Target?
Decimate To Quality is a better choice if your goal is to preserve good visual quality, and should be your first choice since it can also dramatically reduce polycount in many cases.
With Hard Surface models (industrial-like models with hard/sharp edges, like CAD models), it is often the best choice, since it preserves important topological singularities (holes, fillets, chamfers…).
Decimate To Target is great if reducing to a specific polycount is required.
It allows more polygon reduction than Decimate To Quality because of its algorithmic method, but at the cost of visual quality: normals, UVs or mesh borders might get distorted.
The Decimate To Target function is particularly efficient on polygonal/organic meshes like game models, but can also be used with CAD/Hard Surface models.
Preparing meshes for decimation
Repair meshes
Prior to performing a decimation, it is best to repair the model first (see Repair Mesh), in order to reconnect potential cracks or gaps existing in the original model and prevent the decimation from accentuating them.
Example
Example | Illustration |
|---|---|
| Initial state: undecimated meshes, with disconnected edges represented as blue edges. Tip: In Asset Transformer Studio, disconnected edges (also called free boundaries) are represented as blue edges when the wireframe is turned on. | 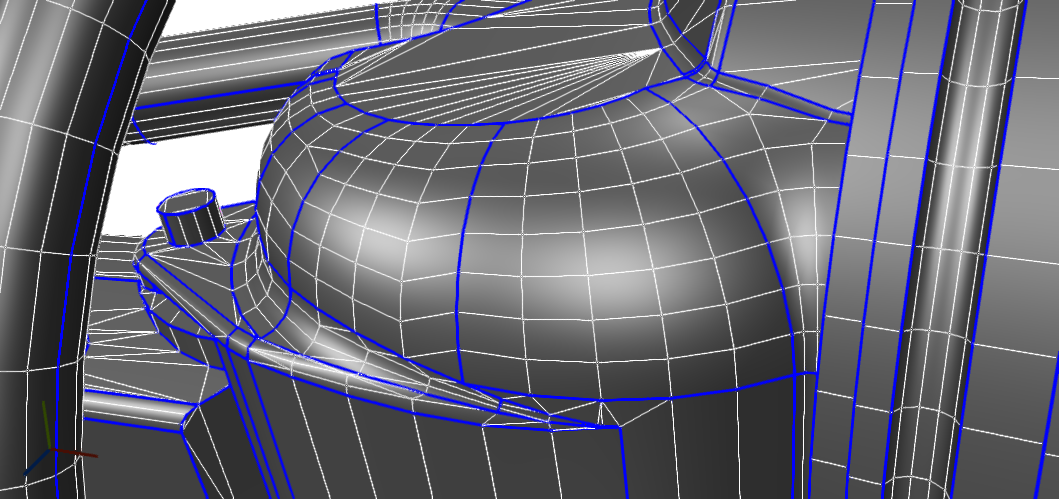 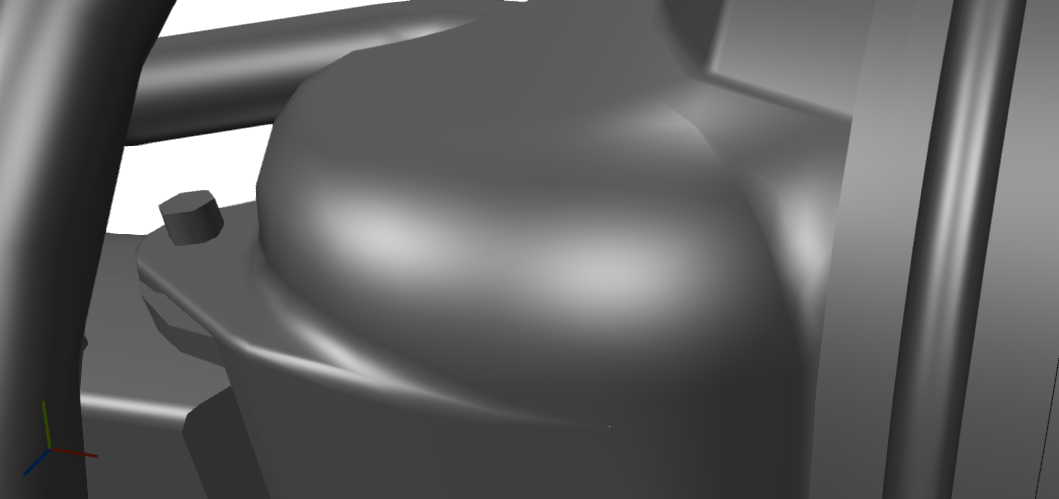 |
| No mesh repair before decimating: Some cracks appear in the meshes | 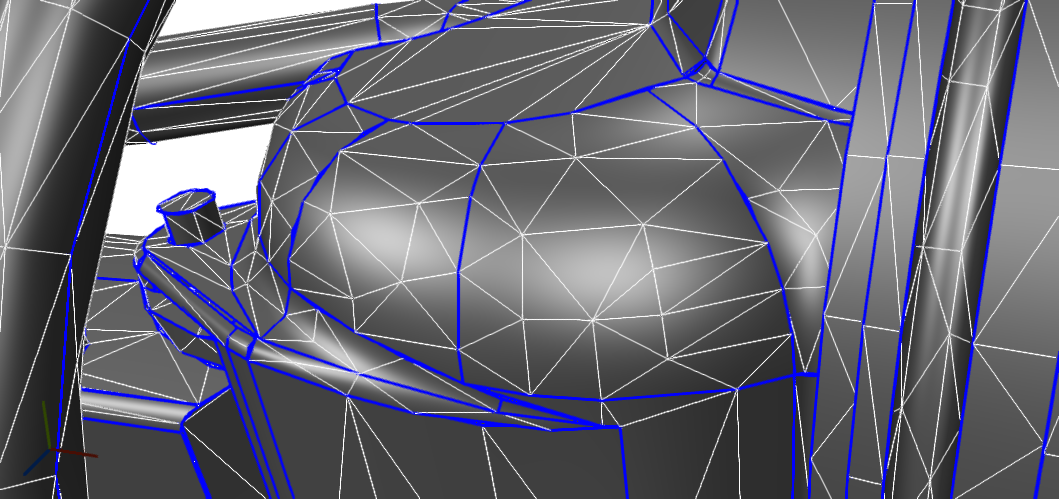 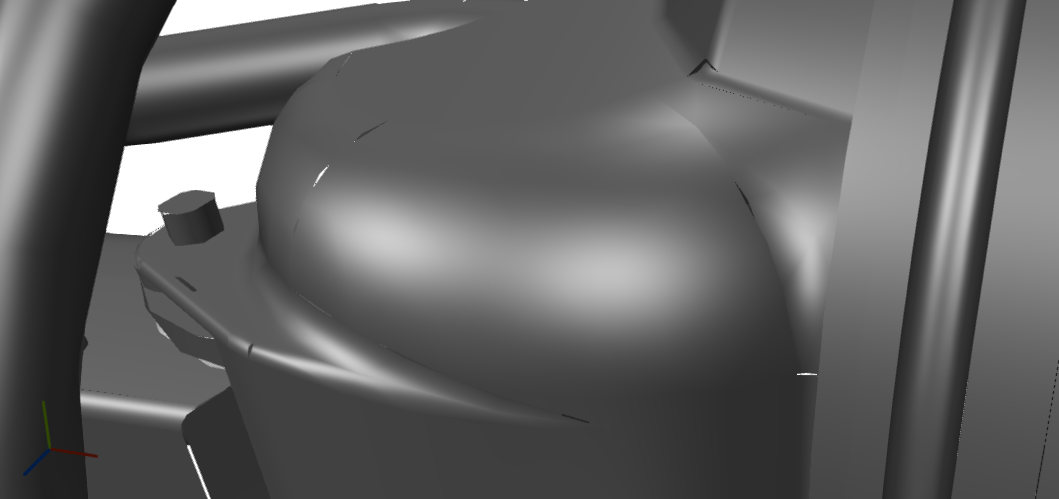 |
| Mesh repair before decimating: Meshes are properly decimated whilst kept watertight | 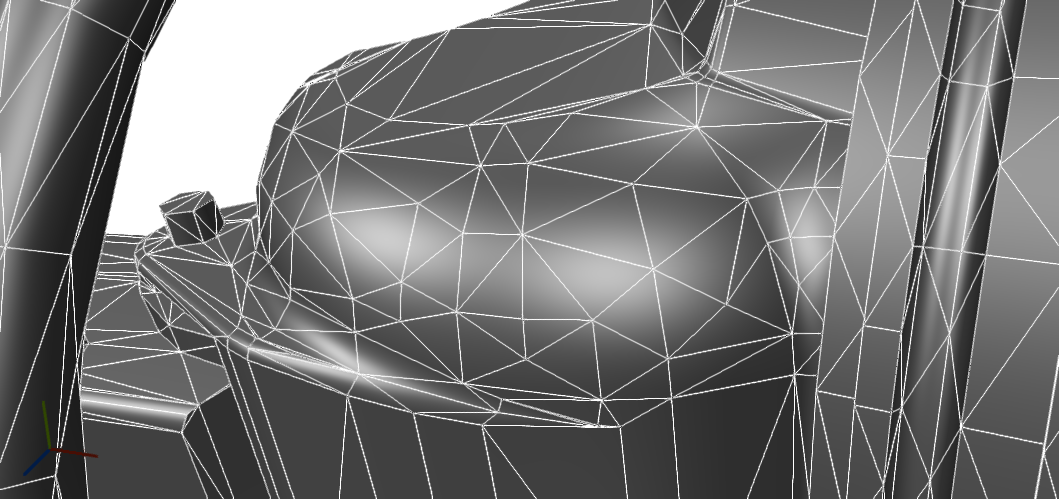 |
Remove unnecessary UVs
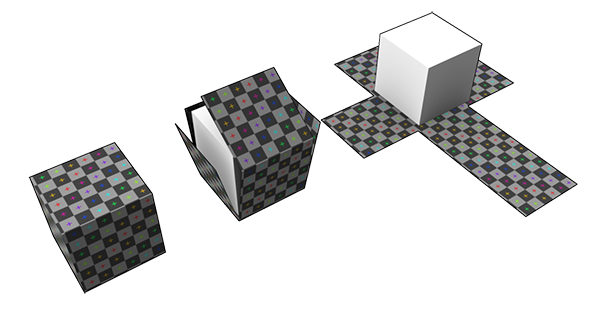
UVs are information included in meshes that is used to properly display texture maps over these meshes.
In the decimation process, UVs are considered as important information that need to be preserved, but UVs can prevent decimation from reducing meshes as much as it could.
Both Decimate To Quality and Decimate To Target have parameters that control the importance of UV preservation, but these parameters cannot ignore UVs if they exist.
So, if UVs are not important in your decimation process, or will be created or recreated after decimation, it is best to remove them before.
Example
Example | Illustration |
|---|---|
| Initial state: High density meshes with UVs (represented with the colored checker). The yellow part has one UV island per triangle, creating as many UV seams. | 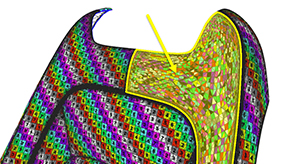 |
| UVs not removed before decimating: Decimation could not reduce the yellow part much. Because each triangle has its own UV island, the resulting UV seams are treated as significant edges by the decimation algorithm — preventing it from collapsing them. | 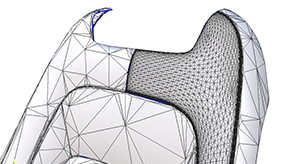 |
| UVs removed before decimating: The yellow part was much more reduced. | 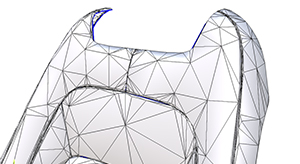 |