Configure a build
Configure build settings and requirements for your Unity project using Build Automation.
Read time 5 minutesLast updated a month ago
A build configuration defines the settings and requirements for creating a specific build of your project. A build configuration is a structured setup that determines how your project is compiled, packaged, and prepared for deployment across different platforms. Once a build configuration is created, you can run multiple build attempts against it. All the settings specified in the configuration, such as the platform, Unity version, and credentials automatically apply to every build attempt to ensure consistency and reproducibility across all builds. To set up a build configuration:
- Sign in to the Unity Dashboard.
- Select DevOps > Build automation > Configurations.
Prerequisites
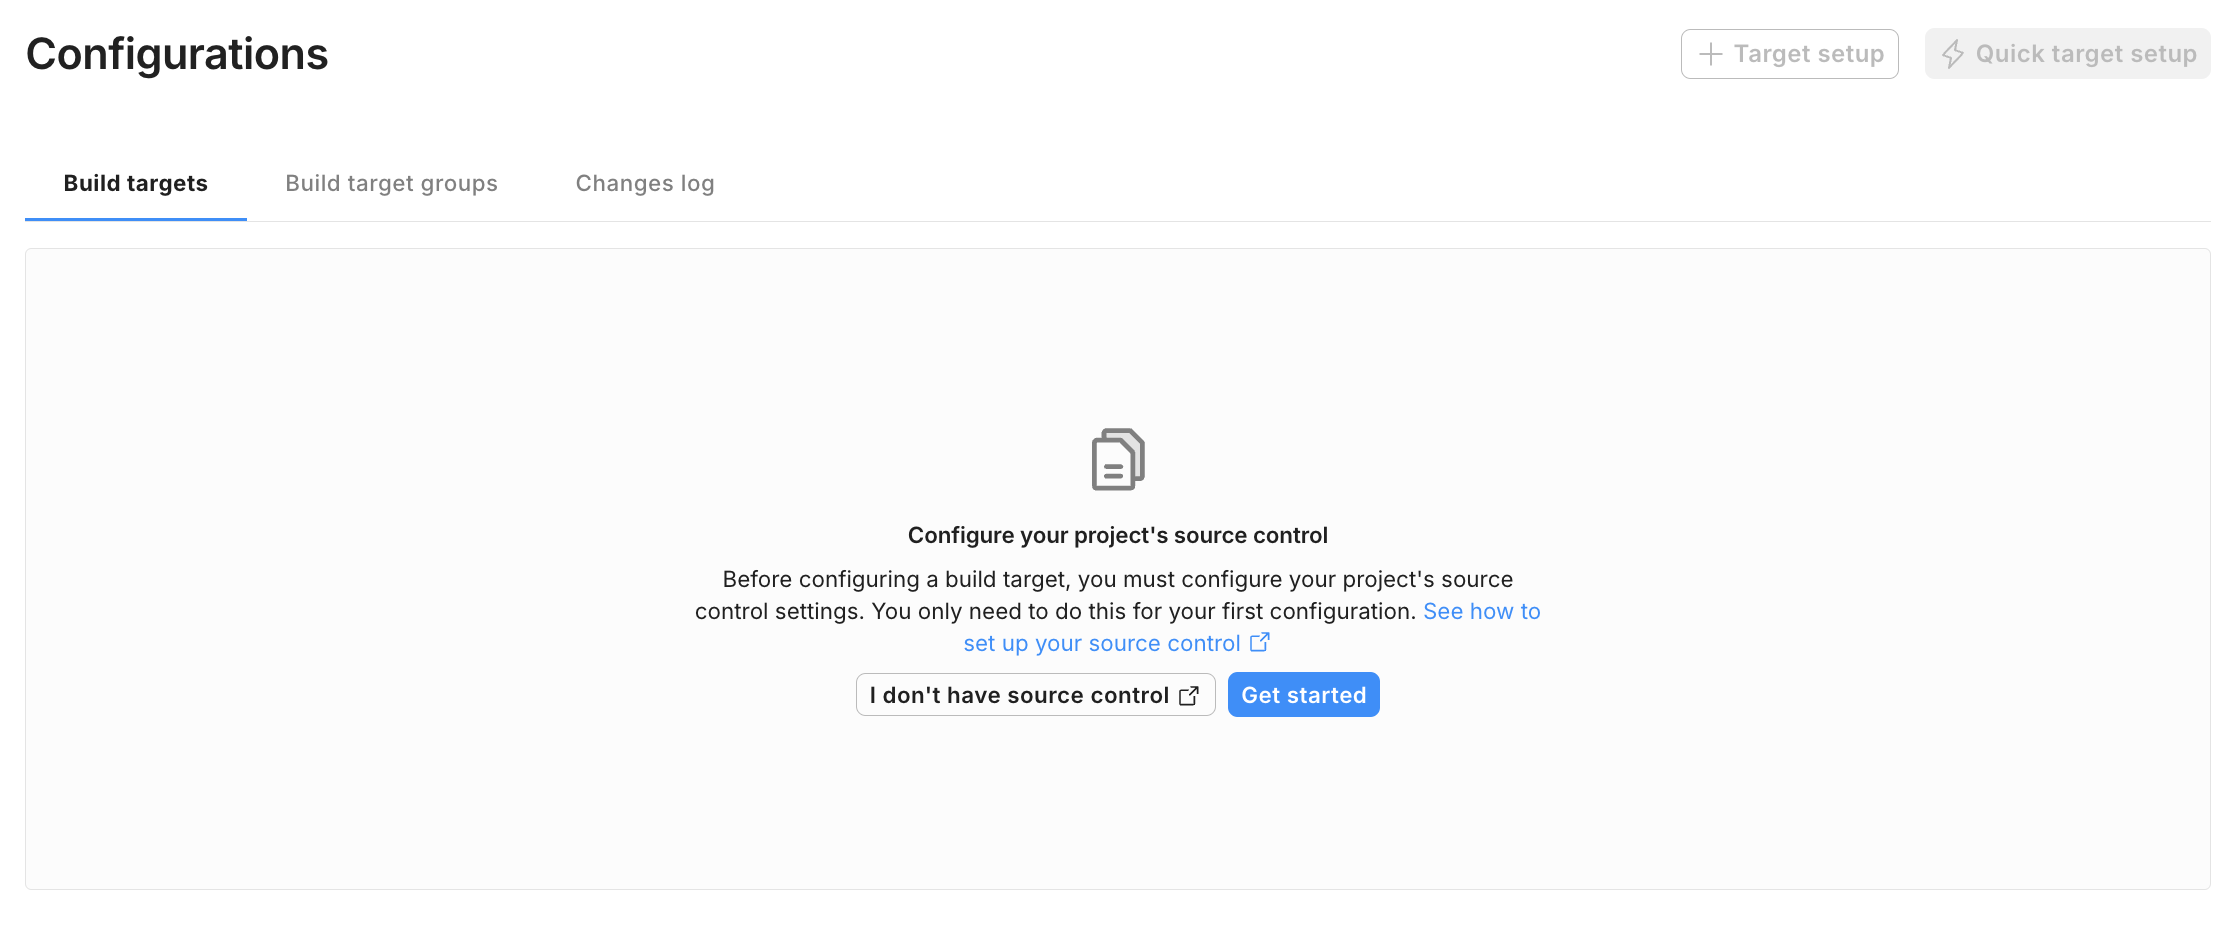
Before you set up your first build configuration, ensure your project’s source control settings are configured. This step is required for your first configuration. Select Get started to configure your source control.
Build Target Configuration - Configure Source Control
Choose a build configuration flow
You have two options to set up a new build configuration: quick target setup and target setup.Quick target setup
If you select Quick target setup, the dashboard displays the basic configurations required to configure a build target for each platform. If you don’t want to configure advanced settings for your build target, select Quick target setup.
Build Target Configuration - Quick target setup
Target setup
When you select Target setup, you first set up the basic settings required for launching your build target. Then, you can either save your configuration or move to the advanced settings.
Build Target Configuration - Advanced settings
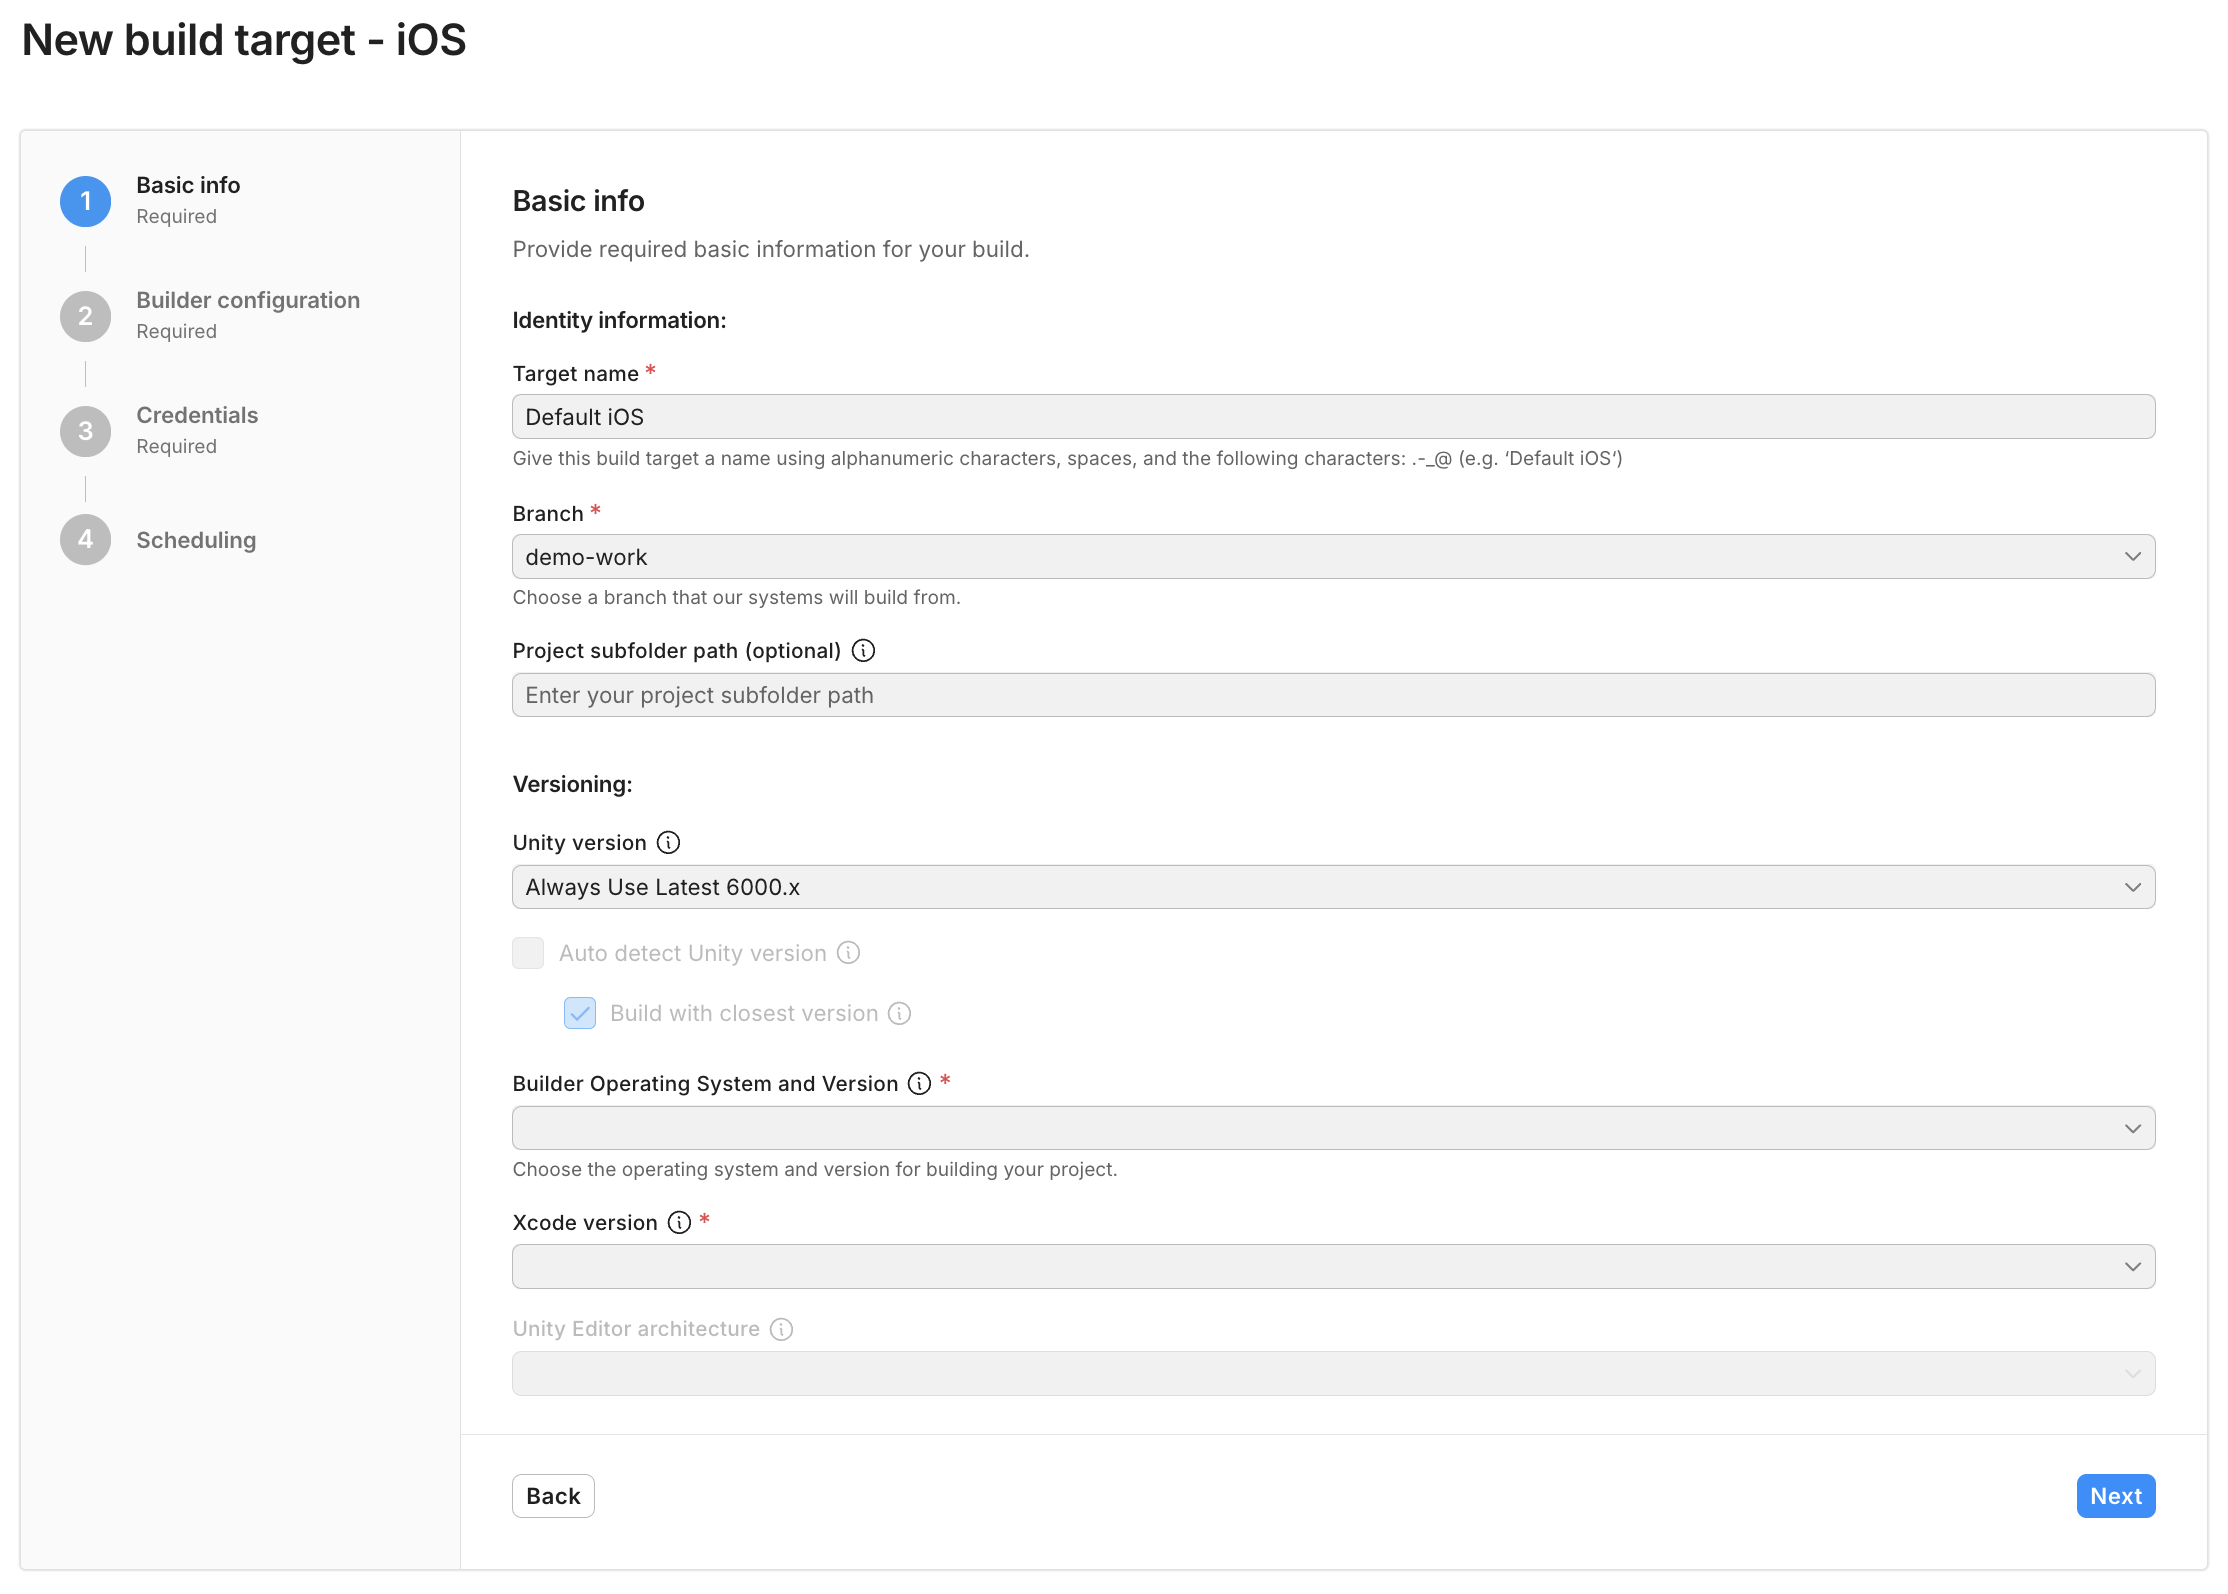
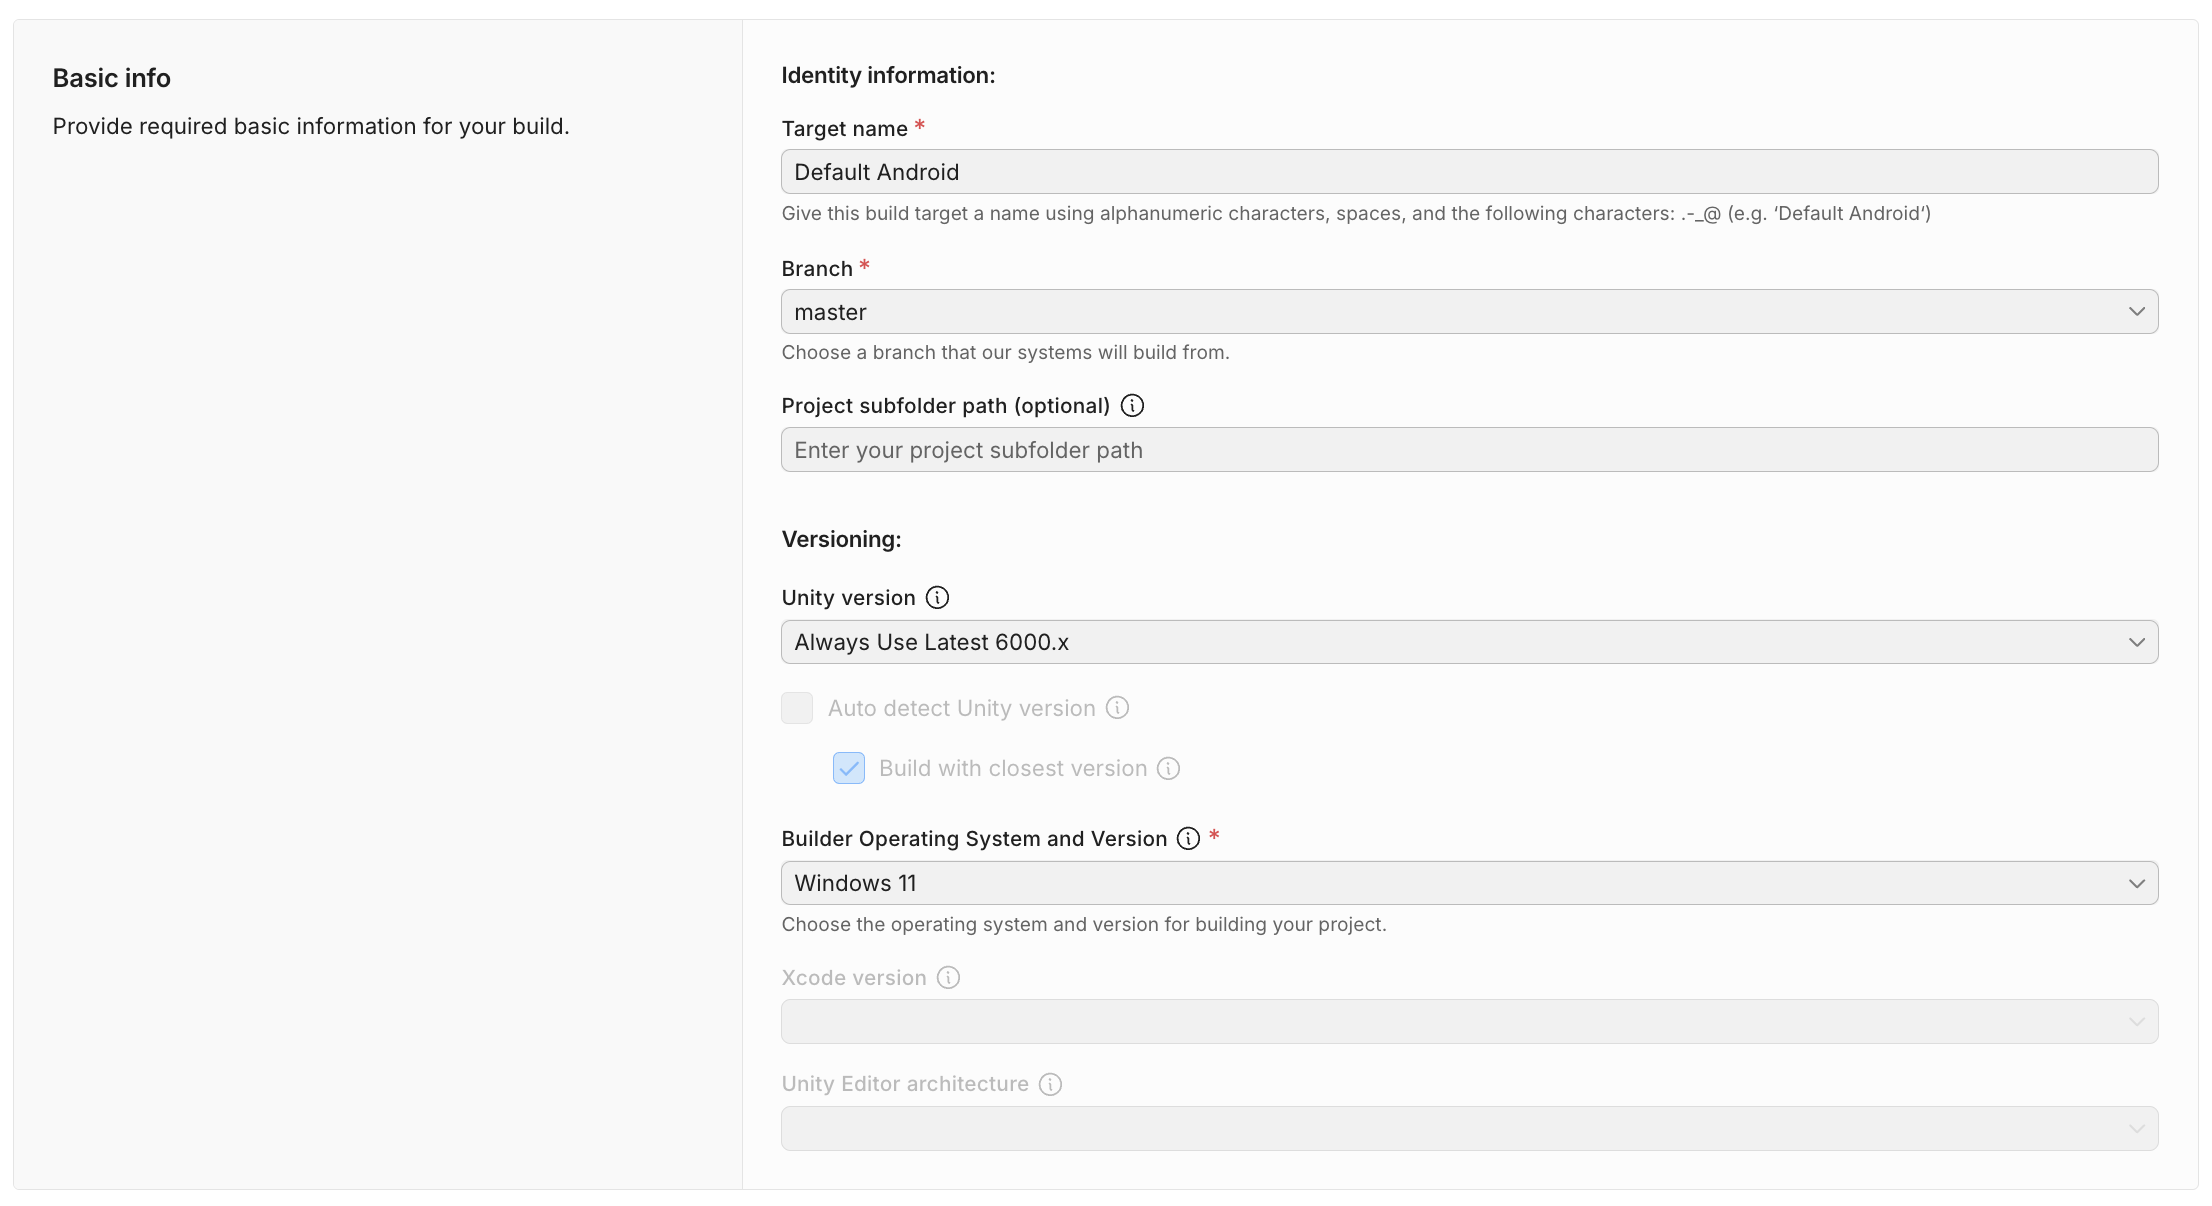
Basic Info
The Basic Info section includes fields to define core settings for your build:Setting | Description |
|---|---|
| Target name | Set a unique name for the build target configuration. |
| Branch | Choose the branch that Build Automation will pull from. |
| Project subfolder path (optional) | Specify the folder that contains the |
| Unity version | Select the Unity version you use. The Unity version controls the availability of several advanced settings such as builder operating system and version, and headless mode. |
| Auto detect Unity version | Enable for Unity Build Automation to detect the Unity version from |
| Builder Operating System and Version | Select the OS and version for your build machine. This is influenced by your platform. Refer to the Supported platforms on each builder OS for more information. |
| Xcode version (for macOS builders only) | Select Default to use the default Xcode version for the selected OS. This option appears when you select a macOS builder operating system. Refer to the Available Xcode versions guide for supported versions. |
| Unity Editor architecture (for macOS builders only) | Specify the Unity Editor architecture for builds that run on a silicon-based operating system. |
| Android SDK version (for Android builds only) | Set the Android SDK version to build the Unity project with. Refer to the Android SDK to Unity versions compatibility guide for more information. |

Build Target Configuration - Basic Info
Builder Configuration
Select the machine specifications for your build. The appropriate settings depend on your project’s complexity and platform requirements. For more details about builder configurations refer to Choose a machine specification.Credentials
The Credentials section allows you to provide the credentials Build Automation uses to sign your build to ensure the security and integrity of your build artifacts. Provide the required credentials, such as keystores for Android or signing certificates for macOS.Scheduling
The Scheduling section enables you to automate build triggers and set recurring build schedules.Setting | Description |
|---|---|
| Auto-build | Automatically start builds when changes are detected in the repository. |
| Auto-cancel | Automatically cancel pending builds if a new build triggers. |
| Build schedule | Configure a repeating build schedule with options such as interval, date, and time. |
Android configurations
Additional build settings are available when you select Android as the target platform. In the Basic Info section of the target configuration, the first setting is the Android SDK version. Use this setting to select the preferred Android SDK version, which depends on the selected Unity version. For more information, refer to the Android SDK to Unity versions compatibility guide. The remaining Android specific settings are in Advanced Settings under Platform specific settings (Android).Setting | Description |
|---|---|
| Build app bundles (.aab) instead of an APK | An Android App Bundle is an upload format that includes all your app's compiled code and resources, but defers APK generation and signing to Google Play. You must also use the Gradle build system. Refer to Android App Bundles documentation for more information. |
| Build asset packs | Build asset packs are only available when you build app bundles. If you enable this option, then Unity Build Automation uses Google Play's build method from the Google Play Unity Plugin to build an App Bundle with Asset Packs. You need to install the plugin in your project. You must also programmatically configure Asset Packs in a Pre-Build script and call |
| Make split binary application builds | This setting sets the |

Build Target Configuration - Android Settings
Universal Windows Platform configurations
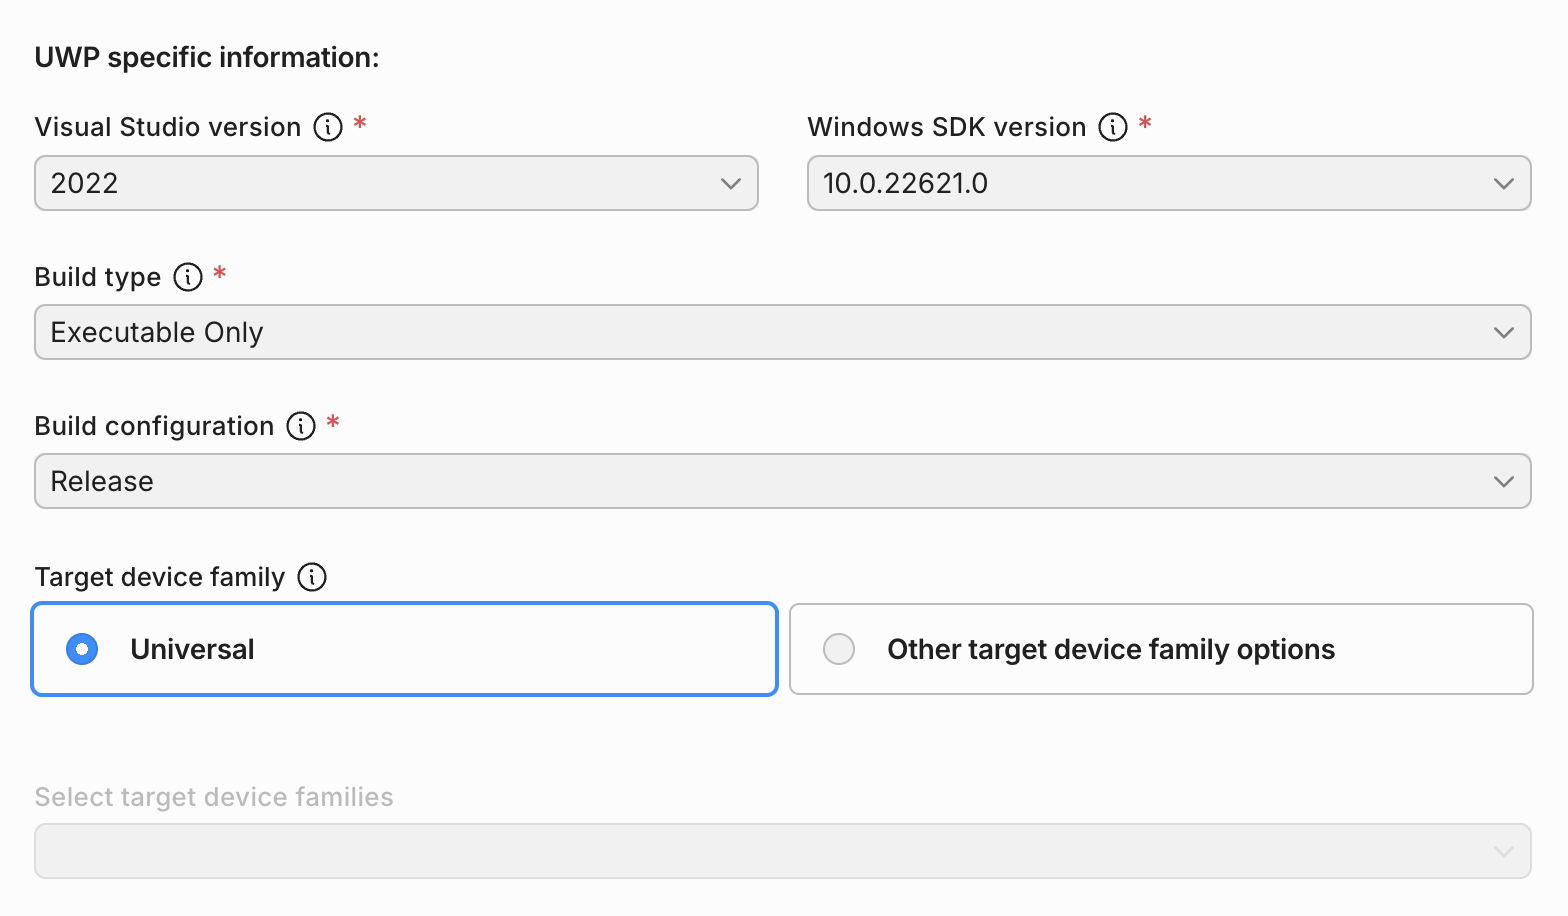
Additional build settings are available when the selected target platform is Universal Windows Platform (UWP). These settings allow for fine-grained control over how you build the UWP application and how you configure target devices. For comprehensive information about UWP settings, refer to the UWP Build Settings documentation. The Basic Info section of the target configuration includes the following UWP-specific options:Setting | Description |
|---|---|
| Visual Studio version | Defines the version of Visual Studio that used to build the UWP application. If you use Unity 2022.2 or earlier, the latest Visual Studio version is automatically selected regardless of this setting. |
| Windows SDK version | Sets the Windows SDK version that the application targets when you build with Visual Studio. This depends on the selected Visual Studio version. |
| Build type | Determines the type of UWP build output generated by Unity. The available options are: |
| Build configuration | Specifies the optimization level of the Visual Studio project output. The options include: |
| Target device family | Defines the UWP device families the application supports. By default, this option is set to |

Build Target Configuration - UWP Basic Settings
Setting | Description |
|---|---|
| Application Capabilities | Specifies the capabilities for the system resources and features that your app expects to use. Refer to the capabilities properties documentation for more details. |
| Executable-only CPU architecture | Only available when you set the build type to |
| Targeted CPU platform | Only available when you set the build type to |

Build Target Configuration - UWP Advanced Settings