Get started
Install and configure the Multiplay Hosting SDK for Unreal Engine.
Read time 3 minutesLast updated 23 days ago
The following instructions teach you how to install and configure the Multiplay Game Server SDK plug-in. After you’ve installed and configured the Multiplay Game Server SDK for your project, you can use the C++ or Blueprints integration.
Understand the requirements
The Multiplay Game Server SDK plug-in for Unreal Engine supports the Unreal Engine versions 4.27 to 5.3.Build the Engine from Source
Unreal Engine requires you to use a source build to set up a dedicated server. Refer to Setting Up Dedicated Servers (Unreal Engine). Perform the following steps to build the Unreal Engine from source:- Create an Epic Games account.
- Create a GitHub account.
- Link your Epic Games account to GitHub account.
- Clone the Unreal Engine source code using Git.
- Check out a branch corresponding to one of the engine versions specified above (for example, 4.27).
- Follow the Getting up and running instructions in the file for the version of the engine that you have checked out.
README.md
Download the Multiplay Hosting SDK
From the Unreal Engine Marketplace website
- Sign in to the Unreal Engine Marketplace.
-
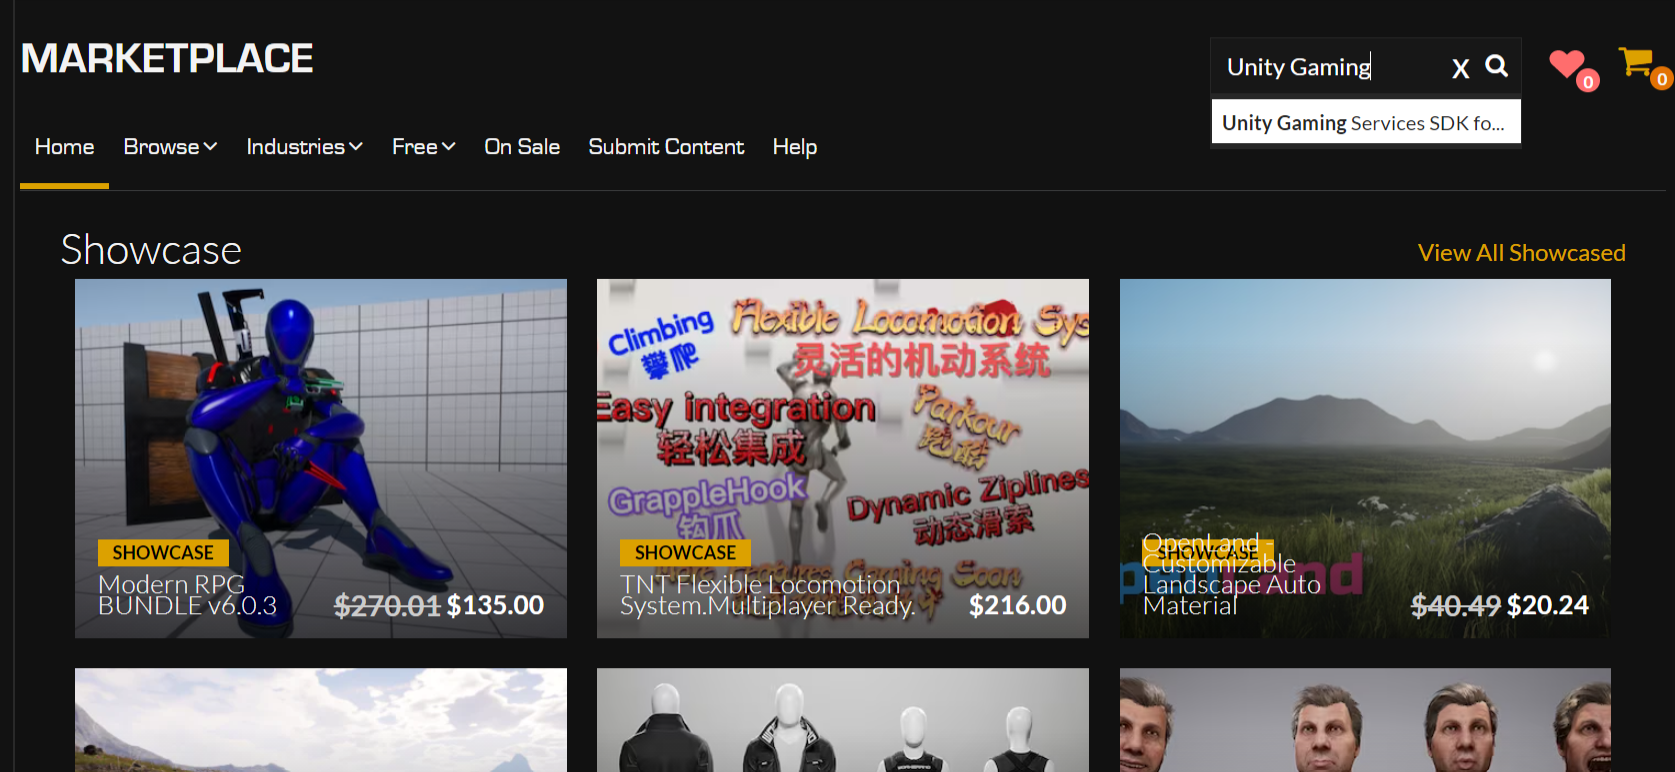
Access the Unity Gaming Services SDK for Unreal Engine Marketplace page.

Unity Gaming Services SDK for Unreal Engine Marketplace page
- Select Open in Launcher.
- Skip to Step 4 in From the Epic Games Launcher
From the Epic Games Launcher
- Sign in to your Epic Games Launcher.
-
Search for in your Epic Games Launcher.
Unity Gaming Services SDK for Unreal Engine
Search for Unity Gaming Services SDK for Unreal Engine
-
Access the Unity Gaming Services SDK for Unreal Engine page and select Free.

Unity Gaming Services SDK for Unreal Engine Launcher page
-
Select Install to Engine in your Epic Games Launcher.

Unity Gaming Services SDK for Unreal Engine install button
- Open a new project or an existing one.
-
Navigate to the window and check the box next to the Unity Gaming Services SDK for Unreal Engine.
Plugins
Unity Gaming Services SDK for Unreal Engine plugins window
- Restart Unreal Engine
- Access your Marketplace folder by doing the following:
- If you're using Windows, then default path is: . MacOS and Linux also have similar paths.
C:\Program Files\Epic Games\UE_5.3\Engine\Plugins\Marketplace - Copy the folder into your project
UnityGamingServicesSDKfolder. If it doesn't exist yet, create it at the root of your project.Plugins
Building the project including the SDK
- Right-click (macOS: Ctrl+click) the file, then select Generate Visual Studio project files.
.uproject - Wait for the generation to finish.
- Open the file using Visual Studio.
.sln - Add the module as dependency in the file (
.build.cs).MultiplayGameServerSDK - Add a new file with the server target configuration.
.target.cs
Configure the Multiplay Game Server SDK
Multiplay generates theserver.jsonserver.json$$query_port$$$$serverid$$server.jsonqueryPortserverIDserver.jsonserver.json{ "queryPort": "$$query_port$$", "serverID": "$$serverid$$"}