C# SDK
This guide provides step-by-step instructions for installing and setting up the Pixyz C# SDK, including prerequisites, NuGet package installation, licensing, and running your first script.
読み終わるまでの所要時間 2 分最終更新 4ヶ月前
Prerequisites
- Compatible system
- Visual Studio
- .NET SDK
- A valid Pixyz SDK license on your Pixyz license portal
Setup
About the packaging
The pixyz engine is delivered as a set of NuGet packages. The packages are available on the Pixyz NuGet server in this format: . For example:
version-<OS>- windows: 2024.2.2.3-win64
- linux: 2024.2.2.3-linux
We apologize but some nuget limitation avoid a single package for all platforms.
Standard install (recommended)
- Open a .NET project
- Go to
Tools/NuGet Package Manager/Package Manager Settings/Package Sources - Add a new source
- Set source URL to:
https://unity3ddist.jfrog.io/artifactory/api/nuget/v3/pixyz-nuget-prod-local/index.json - Open window and look for Pixyz NuGet packages:
NuGet Package Manager- be sure to set Package source to
All - select "Include prerelease" if you want to see all available packages (,
-win64)-linux64
- be sure to set Package source to
- Setup your license
- Run your first script
Local install
- Download desired package from archive
- Open a .NET project
- Setup a local NuGet package for Pixyz SDK :
Tools/Options - Install the local package:
Tools/NuGet Package Manager/Manage NuGet Packages for Solutions- Click on
Browse - Change package source to
Local - Install to your C# project
- Click on
- Setup your license
- Run your first script
.NET 8
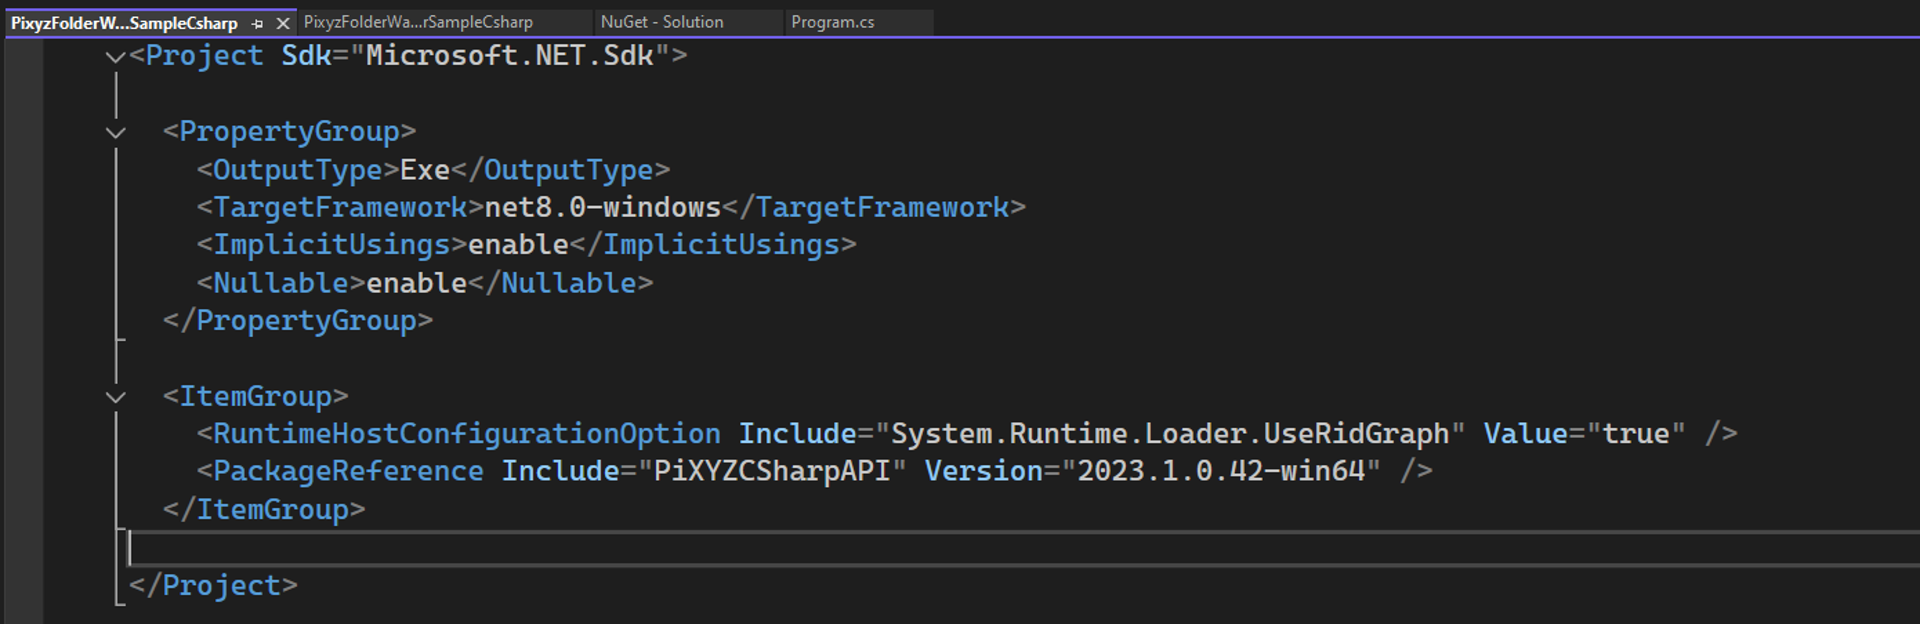
Some .NET version discrepencies may occur. included a change in how platform-specific packages are loaded. To safely use .NET 8 and depending on your Pixyz release version, you might need a custom configuration to use the Windows package:
.NET 8- Open your project file (.csproj) (right click on project → Edit Project File)
- Add the following configuration under your ItemGroup XML tag:
<RuntimeHostConfigurationOption Include="System.Runtime.Loader.UseRidGraph" Value="true"/>
Run your first script
using UnityEngine.Pixyz.API;// init PixyzPiXYZAPI api = PiXYZAPI.Initialize();// print Pixyz versionConsole.WriteLine(api.Core.GetVersion());// if no license is found, try to configure a license serverif (!api.Core.CheckLicense()){ api.Core.ConfigureLicenseServer("company-server-hostname", 27000, true);}// use api.IO.ImportScene to import a file and enjoy :)