Attention: Unity Reflect is deprecated, and is no longer available from December 2024. Unity no longer provides support for Reflect. The Unity Cloud Reference Project has replaced Reflect Develop.
AR modes in Reflect Review
Reflect Review for iOS and Android devices offers the ability to view your models in AR.
Select an AR mode
To select and enable one of the available AR modes in Reflect Review:
- Tap the button in the lower left corner of the screen and then tap the AR button.
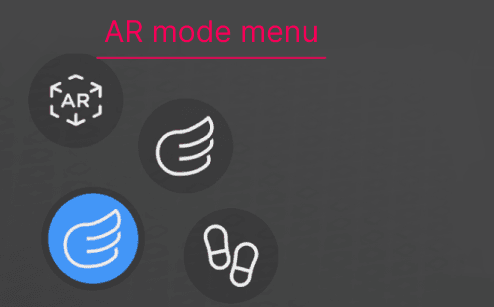
- Select your AR mode of choice.

View Match mode
This mode displays your model at 1:1 scale based on your camera view.
To set up View Match, tap the View Match tile and follow the wizard on screen to match your model to your environment.
Corner Match mode
This mode matches the walls in your model to the real world at 1:1 scale.
To set up Corner Match, tap the Corner Match tile and follow the wizard on screen to match your model to your environment.
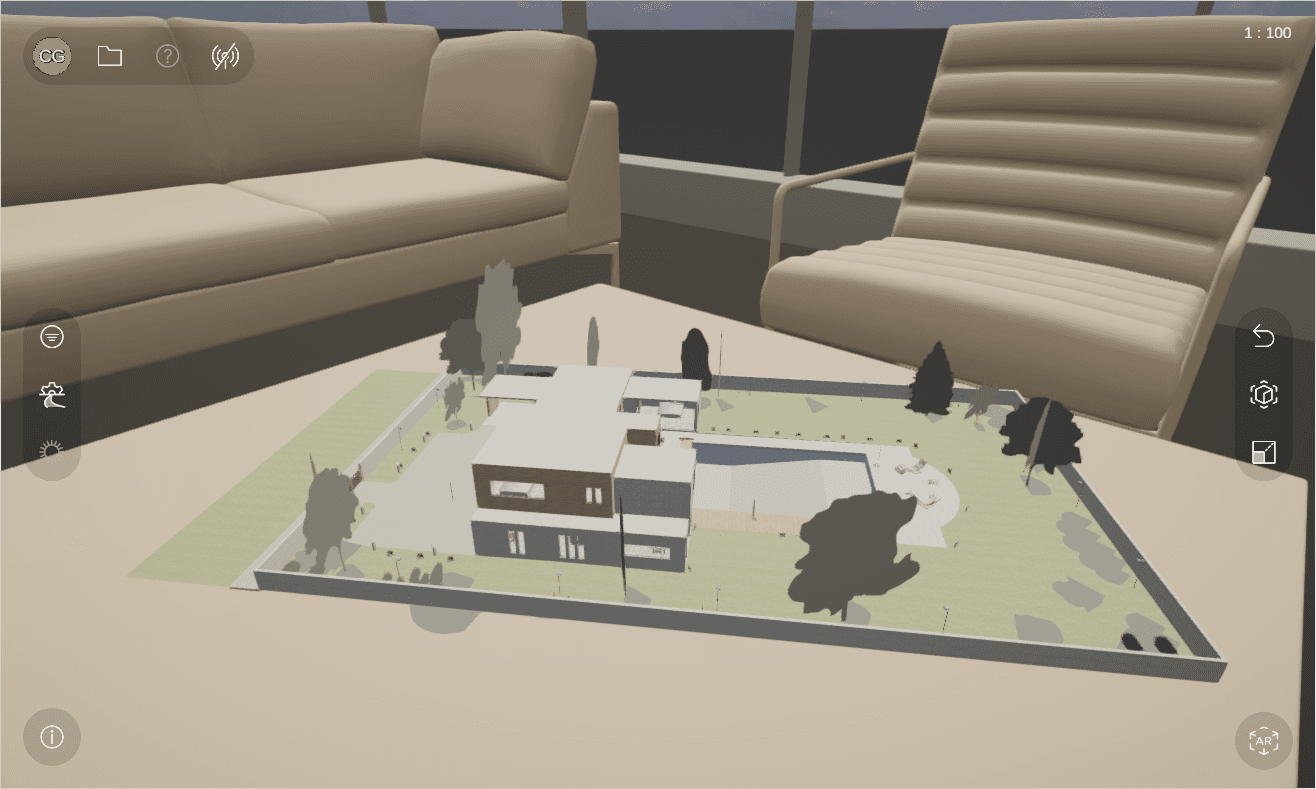
Tabletop AR mode
This mode lets you preview your model on any horizontal surface in the real world.
To set up Tabletop AR:
Tap the Tabletop AR tile.
Move your device back and forth to find a horizontal surface and then tap OK.
Rotate and scale the model to your desired position.

Tap **OK **to place the model.
AR Marker mode
Reflect allows you to place virtual markers in your model and align them with corresponding markers in the real world. Before you enter this mode, you must place both your virtual and physical markers.
Place an AR marker in your model
To place a new marker in Reflect:
Tap the AR Markers button on the left side of the screen.
This opens the AR Markers menu and displays a list of all the markers in the project, whether created by you or someone else with access to the project.
Tap + in the AR Markers menu and then tap the location in your model where you would like the marker.

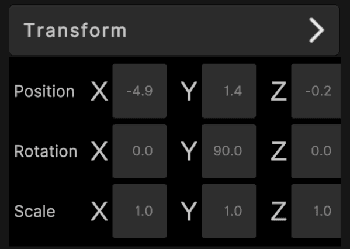
Placing a new AR marker in Reflect
You can adjust the marker placement with the on-screen cursor. If you want to enter specific coordinates instead, tap Transform.
Enter a name for your marker and tap Save.
Export and print an AR marker
To export a selected AR marker as a printable PDF, tap Export and select your printer or desired save location.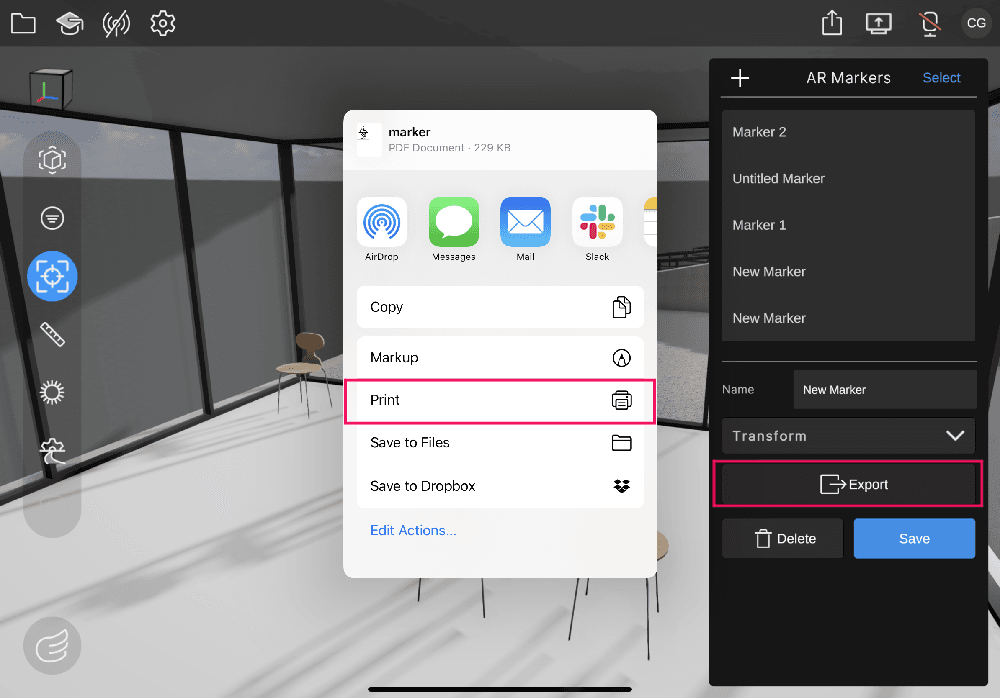
You can place the printed marker in your physical environment to align that location with the marker in your Reflect model.
Scan an AR marker
Before scanning, make sure your printed marker is placed in the same location as in your model.
- Tap the mode button in the lower left corner of the screen and select AR.
- Tap the AR Marker tile to begin scanning.
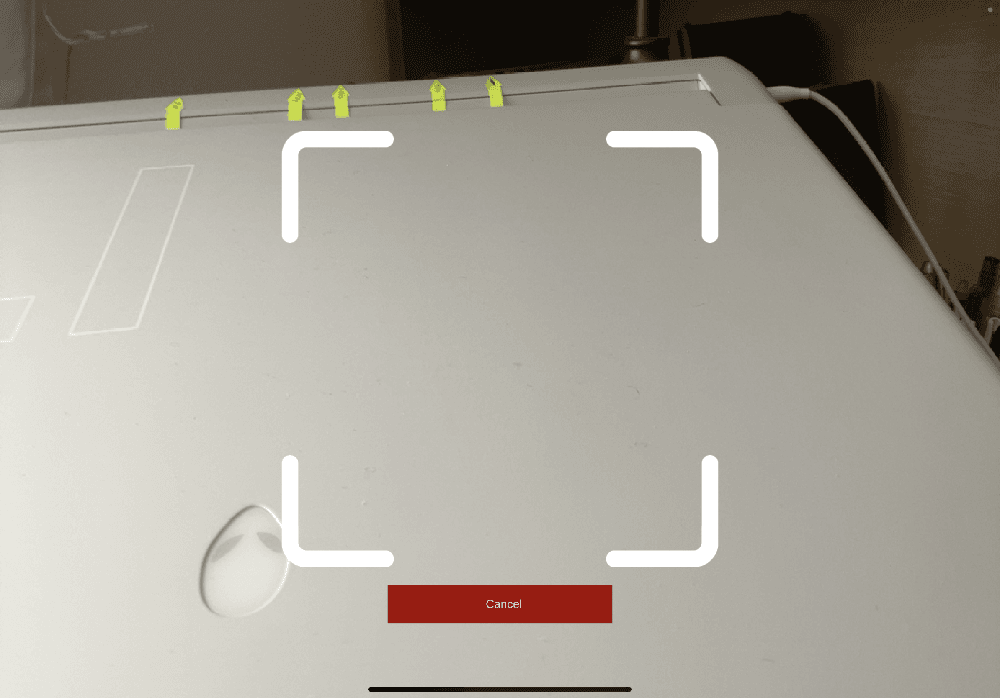
Reflect uses your device's camera to scan the environment for a printed marker. - Point your device camera at the desired marker and align the printed compass with the compass on screen.
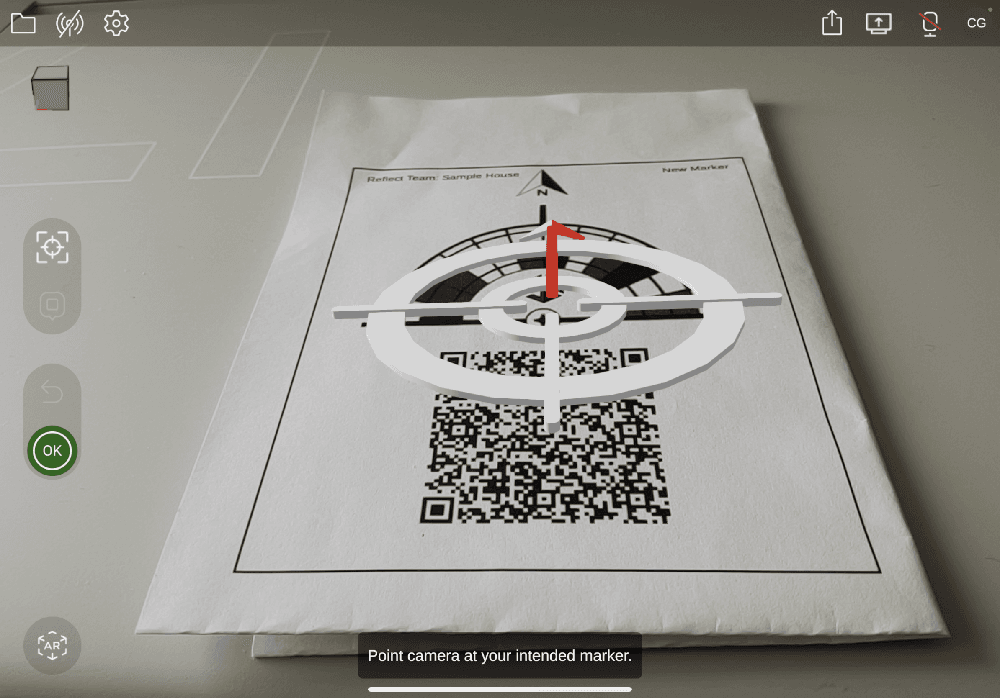
- When the marker is correctly aligned, tap OK to place your model.
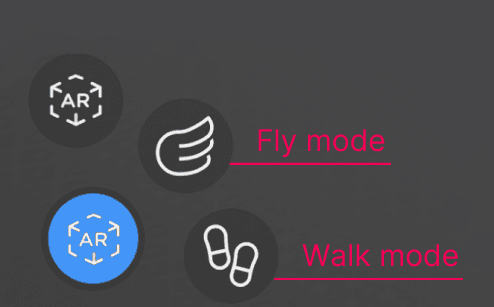
Disable AR mode
To turn off any active AR mode, tap the mode button in the lower left corner of the screen and select Walk or Fly mode.