Manage projects
Add, open, and remove local or remote Unity projects using the Hub.
読み終わるまでの所要時間 4 分最終更新 3日前
The Projects window in the Unity Hub lets you add, open, and remove Unity projects. You can add a project from a local disk, or from a remote Unity Version Control, GitHub, or GitLab repository. To create a new project from a template, refer to Creating a new project.
Add an existing project from disk
If you have an existing Unity project that isn't listed in the Hub:
- Select the Add dropdown in the top right of the Projects window.
- Select Add project from disk.
- In the file browser, navigate to and select the folder that contains your project.
The project appears in your Projects list.
Add a remote project
Remote projects are Unity projects hosted through Unity Version Control, GitHub or GitLab.
To add a remote project to the Hub, open the Add project from repository window:
- Select the Add dropdown.
- Select Add from repository.
This opens a window where you can select a repository to import a project from.
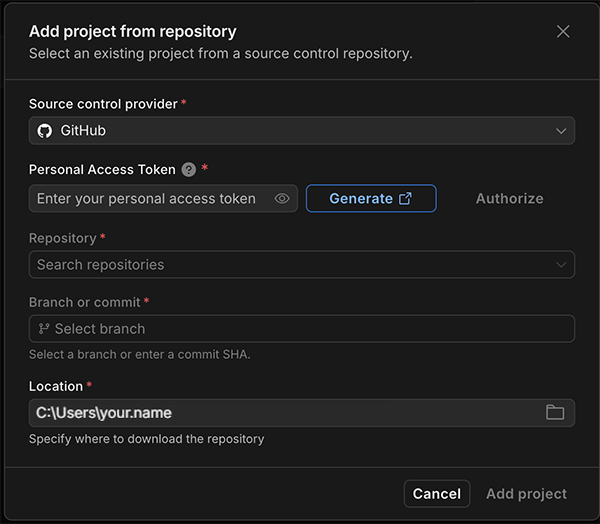
The Add project from repository window
Add a project from Unity Version Control
To learn how to set up Unity Version Control in the Hub, refer to Get started with Unity Version Control via the Unity Hub. To add a project from Unity Version Control:
- In the Add project from repository window, expand the Source control provider dropdown and select Unity Version Control.
- Expand the Unity organization dropdown and select the organization that contains the project you want to import.
- In the Unity project dropdown, select the project to open.
- Select the Location field to choose a local folder to import the project to.
The Hub adds the project to your list and opens it in the Unity Editor.
Remote projects with the locally added label are already in your local Projects list. If there is a warning that the seats are full, the maximum number of users are already working on that project.
Add a project from GitHub or GitLab
To add a project in a GitHub or GitLab repository to the Hub, you need to create a personal access token (PAT).
To grant the Hub access to a GitHub or GitLab repository, configure the following:
- For a GitHub fine-grained PAT, add the Administration and Contents permissions, and set each to Read and Write. For more information, refer to Creating a fine-grained personal access token.
- For a GitHub classic PAT, select the repo scope. For more information, refer to Creating a personal access token (classic).
- For a GitLab PAT, select the api and read_user scopes. For more information, refer to Create a Personal Access Token (PAT) in GitLab
To add a project from GitHub or GitLab:
- In the Add project from repository window, expand the Source control provider dropdown and select GitHub or GitLab.
- Enter your Personal Access Token and select Authenticate.
- In the Unity project dropdown, select the project to open.
- Select the Location field to choose a local folder to import the project to.
The Hub adds the project to your list and opens it in the Unity Editor.
Open a project
To open a project, select the project in the Projects list. The project opens in the Unity Editor.
If the Editor version that the project was saved with isn't installed, Unity Hub opens a window where you can select one of the installed Editor versions, or select Install other Editor version to download and install it.
Open with a different Editor version
To open a project with a different version of the Unity Editor than the version it was saved with:
- In the Projects list, select the Editor version displayed for the project.
- In the menu that opens, select the Editor version you want to use.
- Select Change version to confirm.
Add command line arguments
To add command line arguments to a project:
- Select the contextual menu icon (three horizontal dots) next to the project, or right-click the project.
- Select Add command line arguments.
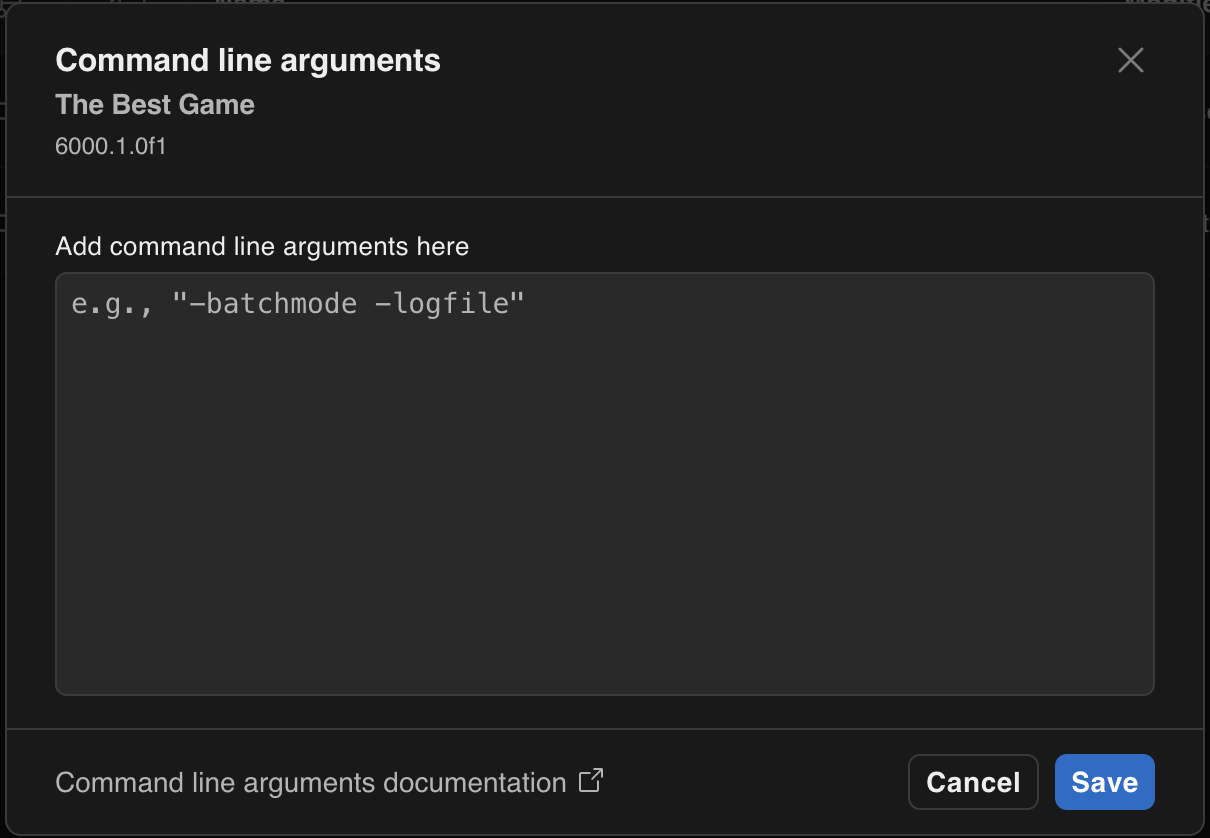
The Command Line Arguments window
Enter command line arguments in the text area and select Save.
For a list of available arguments, refer to the Unity Editor command line arguments documentation. For more information about using the Unity Hub from the command line, refer to the Hub command line interface page.
Remove a project
To remove a project from the Hub:
- Select the contextual menu icon (three horizontal dots) next to the project, or right-click the project.
- Select Remove project from list.
- Select Remove project to confirm.
This removes the project from the Hub's list only. The project files remain on your machine. To delete the files, navigate to the project folder and delete it manually.