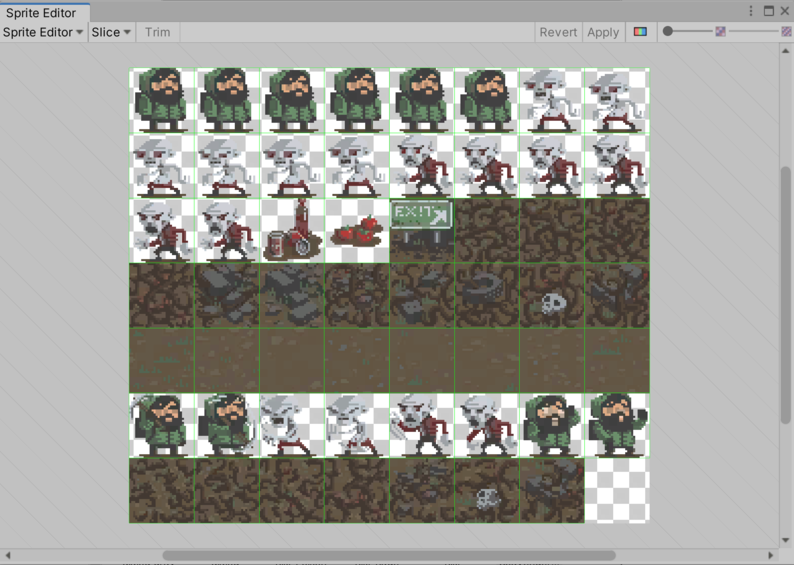
GameObjects are fundamental objects in Unity that represent characters, props, scenery, and more. Every object in your game is a GameObject.
GameObjects represent the items in your game; the space in which you place them to build your level is called a scene. Scenes in Unity are always 3D; when you make a 2D game in Unity, you typically choose to ignore the third dimension (the z-axis) but you can also use it in special cases, for example when making 2.5D games.
The behavior of GameObjects is defined by blocks of functionality called components. The following components are fundamental for 2D games:
Transform: the Transform component determines the Position, Rotation, and Scale of each GameObject in the scene. Every GameObject has a Transform component.
Sprite Renderer: the Sprite Renderer component renders the Sprite and controls how it looks in a scene.
Cameras: devices that capture and display the world to the player. Marking a Camera as Orthographic removes all perspective from the Camera’s view. This is mostly useful for making isometric or 2D games.
Collider 2D: this component defines the shape of a 2D GameObject for the purposes of physical collisions. Refer to 2D Physics.
Components are UI representations of C# classes; you can use scripts to change and interact with components, or create new ones. Refer to the Scripting section for more details.
Scripting
All 2D games need scripts. Scripts respond to input from the player and arrange for events in the gameplay to happen when they should.
Use the Sprite Renderer component to render your Sprites. For example, you can use the Sprite Renderer to change the color and opacity of a Sprite.
Adjusting the color of a Sprite with the Sprite Renderer
Refer to the Introduction to the Sprite Renderer Learn tutorial. Sorting SpritesBy organizing Sprites in layers, you can create an illusion of depth. You can sort Sprites according to many strategies. Refer to Sorting Sprites for full details. For example, you might sort Sprites along the y-axis, so that Sprites that are higher up are sorted behind Sprites that are lower, to make the Sprites that are higher appear further away than the Sprites that are lower.
Sprites sorted along the y-axis
To set the overlay order of Sprites, use Sorting Layers.
To group GameObjects with Sprite Renderers, and control the order in which they render their Sprites, use Sorting Groups.
Sprite Atlas
You can use a Sprite Atlas to consolidate several Textures into a single combined Texture. This optimizes your game and saves memory. For example, you can add all your Sprites associated with a particular character or purpose to a Sprite Atlas.
Environment design refers to the process of building your game's levels and environments. You can combine the environment design tools in this section in whichever way makes the most sense for your game; for example, you can make a top-down game using only 9-slice, or you can make a side on platformer with Tilemap and SpriteShape.
9-slicing
9-slicing is a 2D technique that allows you to reuse an image at various sizes without needing to prepare multiple assets. Unity can dynamically stretch and tile designated parts of a Sprite to allow one Sprite to serve as the border or background for UI elements of many sizes. Refer to 9-slicing Sprites.
For example, you could use 9-slicing to stretch a Sprite to shape when you build a 2D level.
The Tilemap component is a system that stores and handles Tile assets for creating 2D levels. Use the 2D Tilemap Editor package (installed by default) to use Tilemaps.
For example, you can use Tilemaps to paint levels using Tiles and brush tools and define rules for how Tiles behave.
To add some extra Tilemap assets to your Project, install the 2D Tilemap Extras package. This package contains reusable 2D and Tilemap Editor scripts that you can use for your own Projects. You can customize the behavior of the scripts to create new Brushes that suit different scenarios.
Isometric Tilemaps
For games with isometric perspective, you can create Isometric Tilemaps.
SpriteShape
In a similar way to a vector drawing tool, SpriteShape provides a more flexible way to create larger Sprites, such as organic-looking landscapes and paths. See the Sprite Shape Profile.
There are three different ways you can animate 2D characters:
2D animation type
Used for
Frame-by-frame
Artistic reasons, if you want your game to have a classic animation art style. Frame-by-frame animation is relatively resource-intensive, both to make and to run.
Cutout
Smooth skeletal animation, when the characters don't require realistic articulation.
Skeletal
Smooth skeletal animation where Sprites bend according to the bone structure. Use this when the characters need a more organic feel.
Frame-by-frame
Frame-by-frame animation is based on the traditional cel animation technique of drawing each moment of an animation as individual images, which are played in fast sequence, like flipping pages on a flipbook.
For information, refer to Sprite Swap in the 2D Animation package manual.
In cutout animation, multiple Sprites make up the body of a character, and each piece moves to give the visual effect of the whole character moving. This animation style is similar to skeletal animation, except that the Sprites don’t bend.
Cutout animation in the Sprite Editor
Skeletal
With skeletal animation, you map a Sprite or a group of Sprites onto an animation skeleton. You can create and define animation bones for characters and objects, that define how they should bend and move. This approach allows the bones to bend and deform the Sprites, for a more natural movement style. To use skeletal animation, you need to use the 2D Animation package (installed by default).
For a 2D Animation workflow, including a guide to working with the Bone Editor, refer to the 2D Animation documentation.
A character with bones in the Bone Editor
Graphics
This section describes the 2D URP graphic features available when using Universal Render Pipeline (URP).
Lighting
Because you’re using URP with the 2D Renderer, you can use the Light 2D component to apply optimized 2D lighting to Sprites. For details, refer to Introduction to Lights 2D.
These two images show the same scene; in the image on the left, 2D Lights are disabled, and in the image on the right, 2D lights are enabled. With 2D Lights, you can use the same Sprites to create different weather conditions or moods.
To define the shape and properties that a Light uses to determine the shadows it casts, use the Shadow Caster 2D component.
A shadow intensity of 0.5 in the Shadow Caster 2D component
Enhanced look and feel
Particle systems and post-processing are optional tools that you can use to add polish to your game.
Particle systems
You can use particle systems to create dynamic objects like fire, smoke or liquids, as an alternative to using a Sprite. Sprites are more suited to physical objects. Refer to Particle systems.
A fire effect, created with the Particle System and Shader Graph for 2D
Post-processing
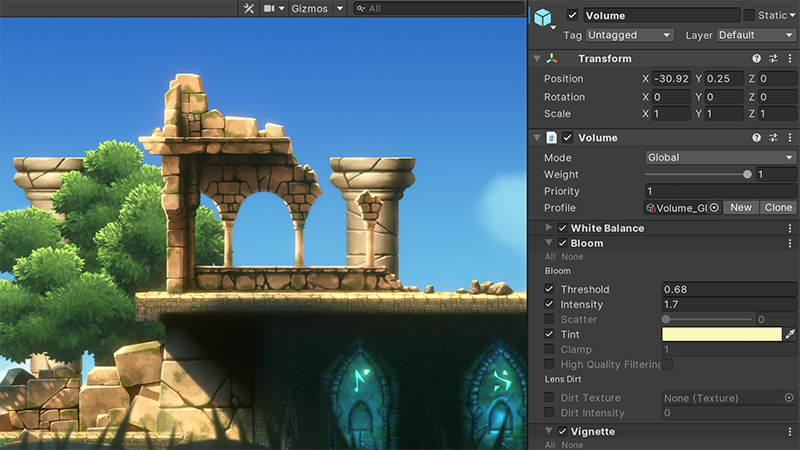
You can use post-processing effects and full-screen effects to significantly improve the appearance of your game. For example, you can use these effects to simulate physical camera or film properties, or to create stylized visuals.
A Rigidbody 2D component places a GameObject under the control of the physics engine. Refer to Rigidbody 2D.
The Rigidbody 2D component
Collider 2D
Collider 2D components define the shape of a 2D GameObject for the purposes of physical collisions. You can also use Collider 2D components for input detection. For example, in mobile games you can use them to make Sprites selectable.
The Collider 2D types that you can use with Rigidbody 2D are:
When you set a Collider 2D as a Trigger (by enabling its Is Trigger property), it no longer behaves as a physical object, and it can intersect with other Colliders without causing a collision. Instead, when a Collider enters its space, Unity calls the
OnTriggerEnter
function on the Trigger GameObject’s scripts.
The Circle Collider 2D component with Is Trigger selected
2D Joints
Joints attach GameObjects together. You can only attach 2D joints to GameObjects that have a Rigidbody 2D component attached, or to a fixed position in world space. Refer to 2D Joints.
You can add background music and sound effects to your game in Unity; see Audio Overview. Use third-party software to create your audio and import it into Unity with the recommended settings.
User interface
If you want to add a menu or help to your game, you need to set up a user interface. To set up a user interface, use UI Toolkit.
Accessibility
Reach a wider player base by making your game accessible to people of all abilities. Refer to Accessibility for guidance.
Profiling, optimizing and testing a build
Profiling
Profiling allows you to view how resource-intensive the different parts of your game are. You should always profile your game on its target release platform. Refer to Profiling your application.