Manage builds
Note: The content on this page pertains to Game Server Hosting (Multiplay) available on the Unity Cloud Dashboard. If you’re using Game Server Hosting (Clanforge), refer to the Game Server Hosting (Clanforge) documentation.
A build is a collection of files required to run your game or application. You can manage builds from the Unity Cloud Dashboard. Refer to the sections below to learn how to perform basic build tasks such as creating and updating a build.
Note: You can link a build to a fleet through a build configuration that points to the build.
Create a build
Refer to Create a build.
Warning: Builds created with the direct file upload process doesn't support symbolic links. If you want to use symbolic links, you must use a Container build.
Update a build with a direct upload
The following instructions explain how to update an existing build with direct upload from the Unity Cloud Dashboard.
In the Unity Cloud Dashboard, open Game Server Hosting (Multiplay).
Select Builds.
Select the build you want to update.
Select Files.
Select Current files to remove one or more existing files.
Select Upload files to add one or more files.
- Drag and drop files or select browse.
- Select Upload Files.
After the files finish uploading, select Next.
Give the new build a version name or leave it blank.
Select the rollout mode. You can perform a progressive rollout or a forced rollout.
Update a build with a container image
Refer to Create a build with a container image for instructions on how to update a build with a container image. In this case you would skip the Details step and in most cases the Service account step.
Update a build using an Amazon S3 bucket for a build
Refer to Use an Amazon S3 bucket for a build for instructions on how to update a build using an Amazon S3 bucket. In this case you would you skip the Details step.
Perform a progressive rollout
A progressive rollout is a method of deploying a build update where you update servers only when they're empty. Game Server Hosting waits for your matchmaker to deallocate the server if any players are connected to a server.
To perform a progressive rollout:
- During the create new version workflow, select Progressive.
- Select Confirm.
- Wait for the upload to complete.
Perform a forced rollout
A forced rollout is a method of deploying a build update where you force servers to update even if players are connected. If players are connected when you start a forced rollout, Game Server Hosting kicks the players from the server.
To perform a forced rollout:
- During the create new version workflow, select Forced.
- Select Confirm.
- Wait for the upload to complete.
Delete a build
Note: You can't delete a build if it's assigned to a build configuration. Make sure to remove the build from any build configurations before continuing.
To delete a build:
- In the Unity Cloud Dashboard, open Game Server Hosting (Multiplay).
- Select Builds.
- Select the build to delete.
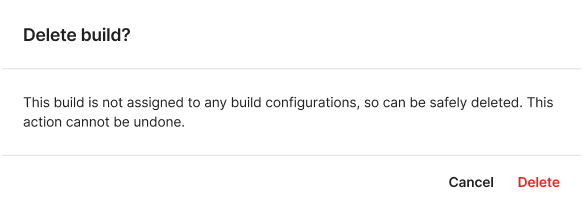
- Select Delete build.
- Confirm the deletion by selecting Delete again.
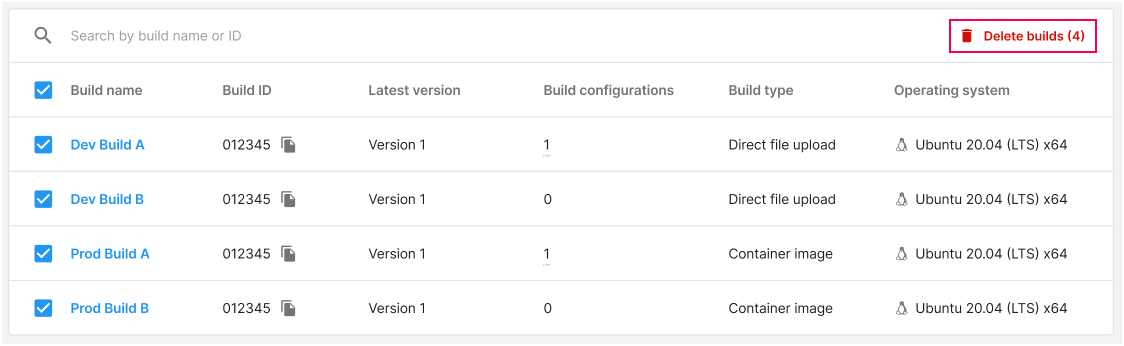
You can also delete multiple builds at a time by selecting more than one build, then selecting Delete builds.
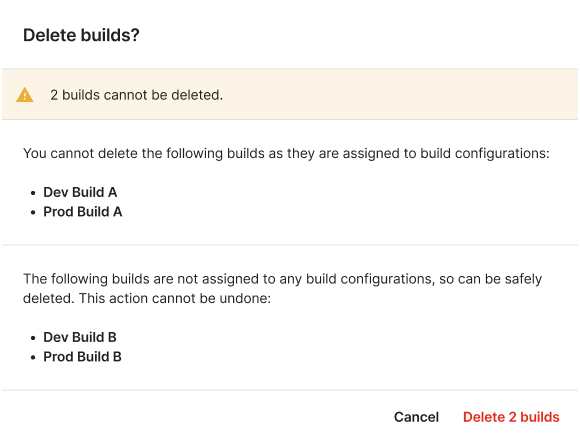
Similar to deleting a single build, you must confirm that you want to delete the builds. You’ll receive an alert if Game Server Hosting can’t delete any of the selected builds.
Manage installation failures
Build installation failures sometimes happen. You can view the failed installation jobs by selecting View failed installs in the Installs view.
Refer to Troubleshooting to learn how to fix common problems. Contact support if installs continue to fail.